Azure SSO Custom Markdown Tile in Azure AD
This document is a guide on how to create a dashboard or update an existing dashboard with custom markdown tile in Microsoft Entra ID (previously Azure AD) to do an Azure SSO in Zesty.io
Supported Features
- IdP-initiated Single Sign-On (SSO) in Azure AD
The Azure SSO implementation in Zesty.io will use the common issuer to support both Microsoft accounts and work or school accounts as opposed to using an organization-specific issuer which only supports work or school accounts for the authorize and token endpoints. See our Microsoft Single Sign-On guide for more information.
- Support user login to Zesty from Azure Portal
- Automatic account creation in Zesty.io on initial SSO
Requirements
- User creating the custom dashboard that will contain a tile link in Azure Portal for each AD organization must have the Microsoft.Portal/Dashboards/Write permission (Owner and Contributor roles have this permission) to create the custom dashboard, publish it and share to assign access
- Email that will be used to login in Zesty.io MUST match the email registered in in the Azure AD organization
Configuration Steps
- Login to Azure Portal
- In the sidebar, go to Dashboard
- The custom markdown tile can be added in an existing dashboard or on a new dashboard.
For creating a new dashboard, follow the Creating a new dashboard and continue with the Creating the custom markdown tile.
For adding the markdown tile in an existing dashboard, skip the Creating a new dashboard and continue with Creating the custom markdown tile.
Creating a new dashboard
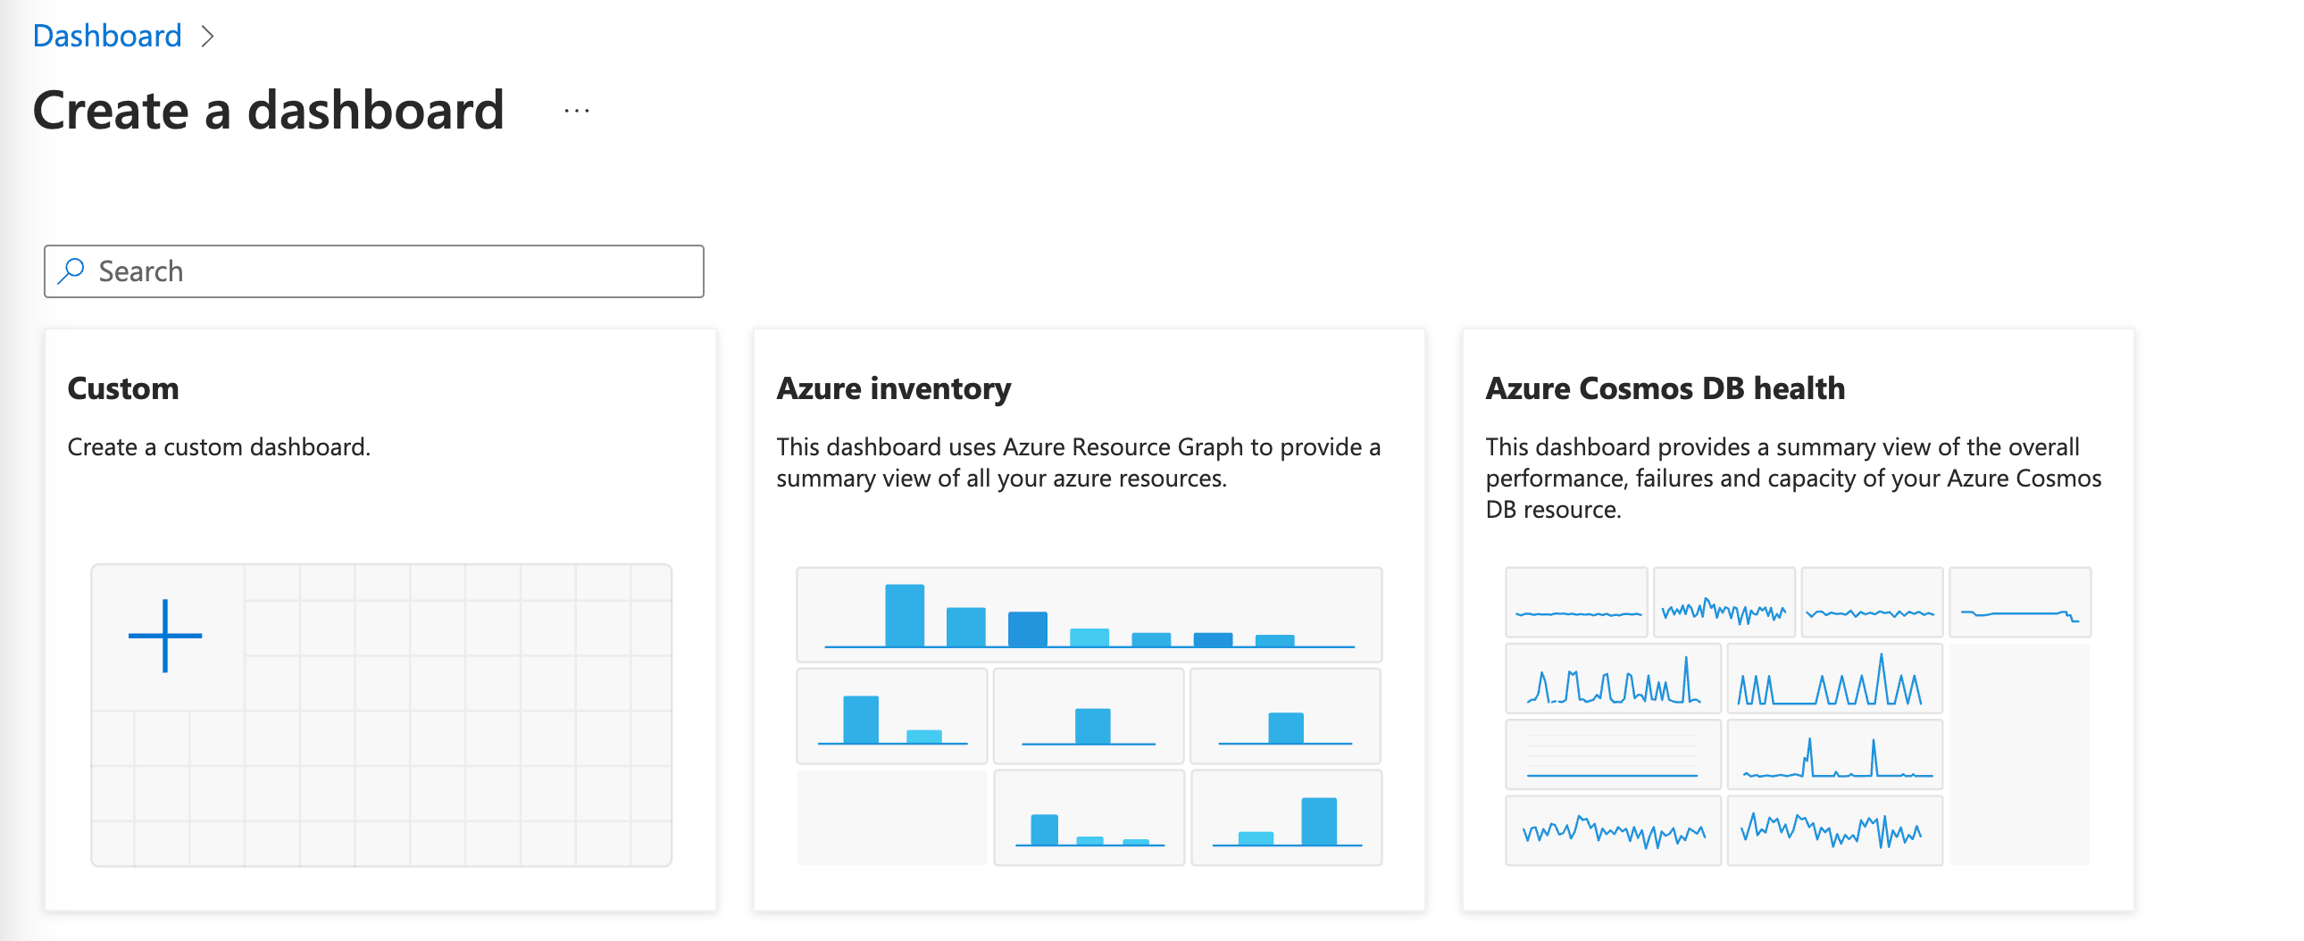
- Click Create button
- Select Custom

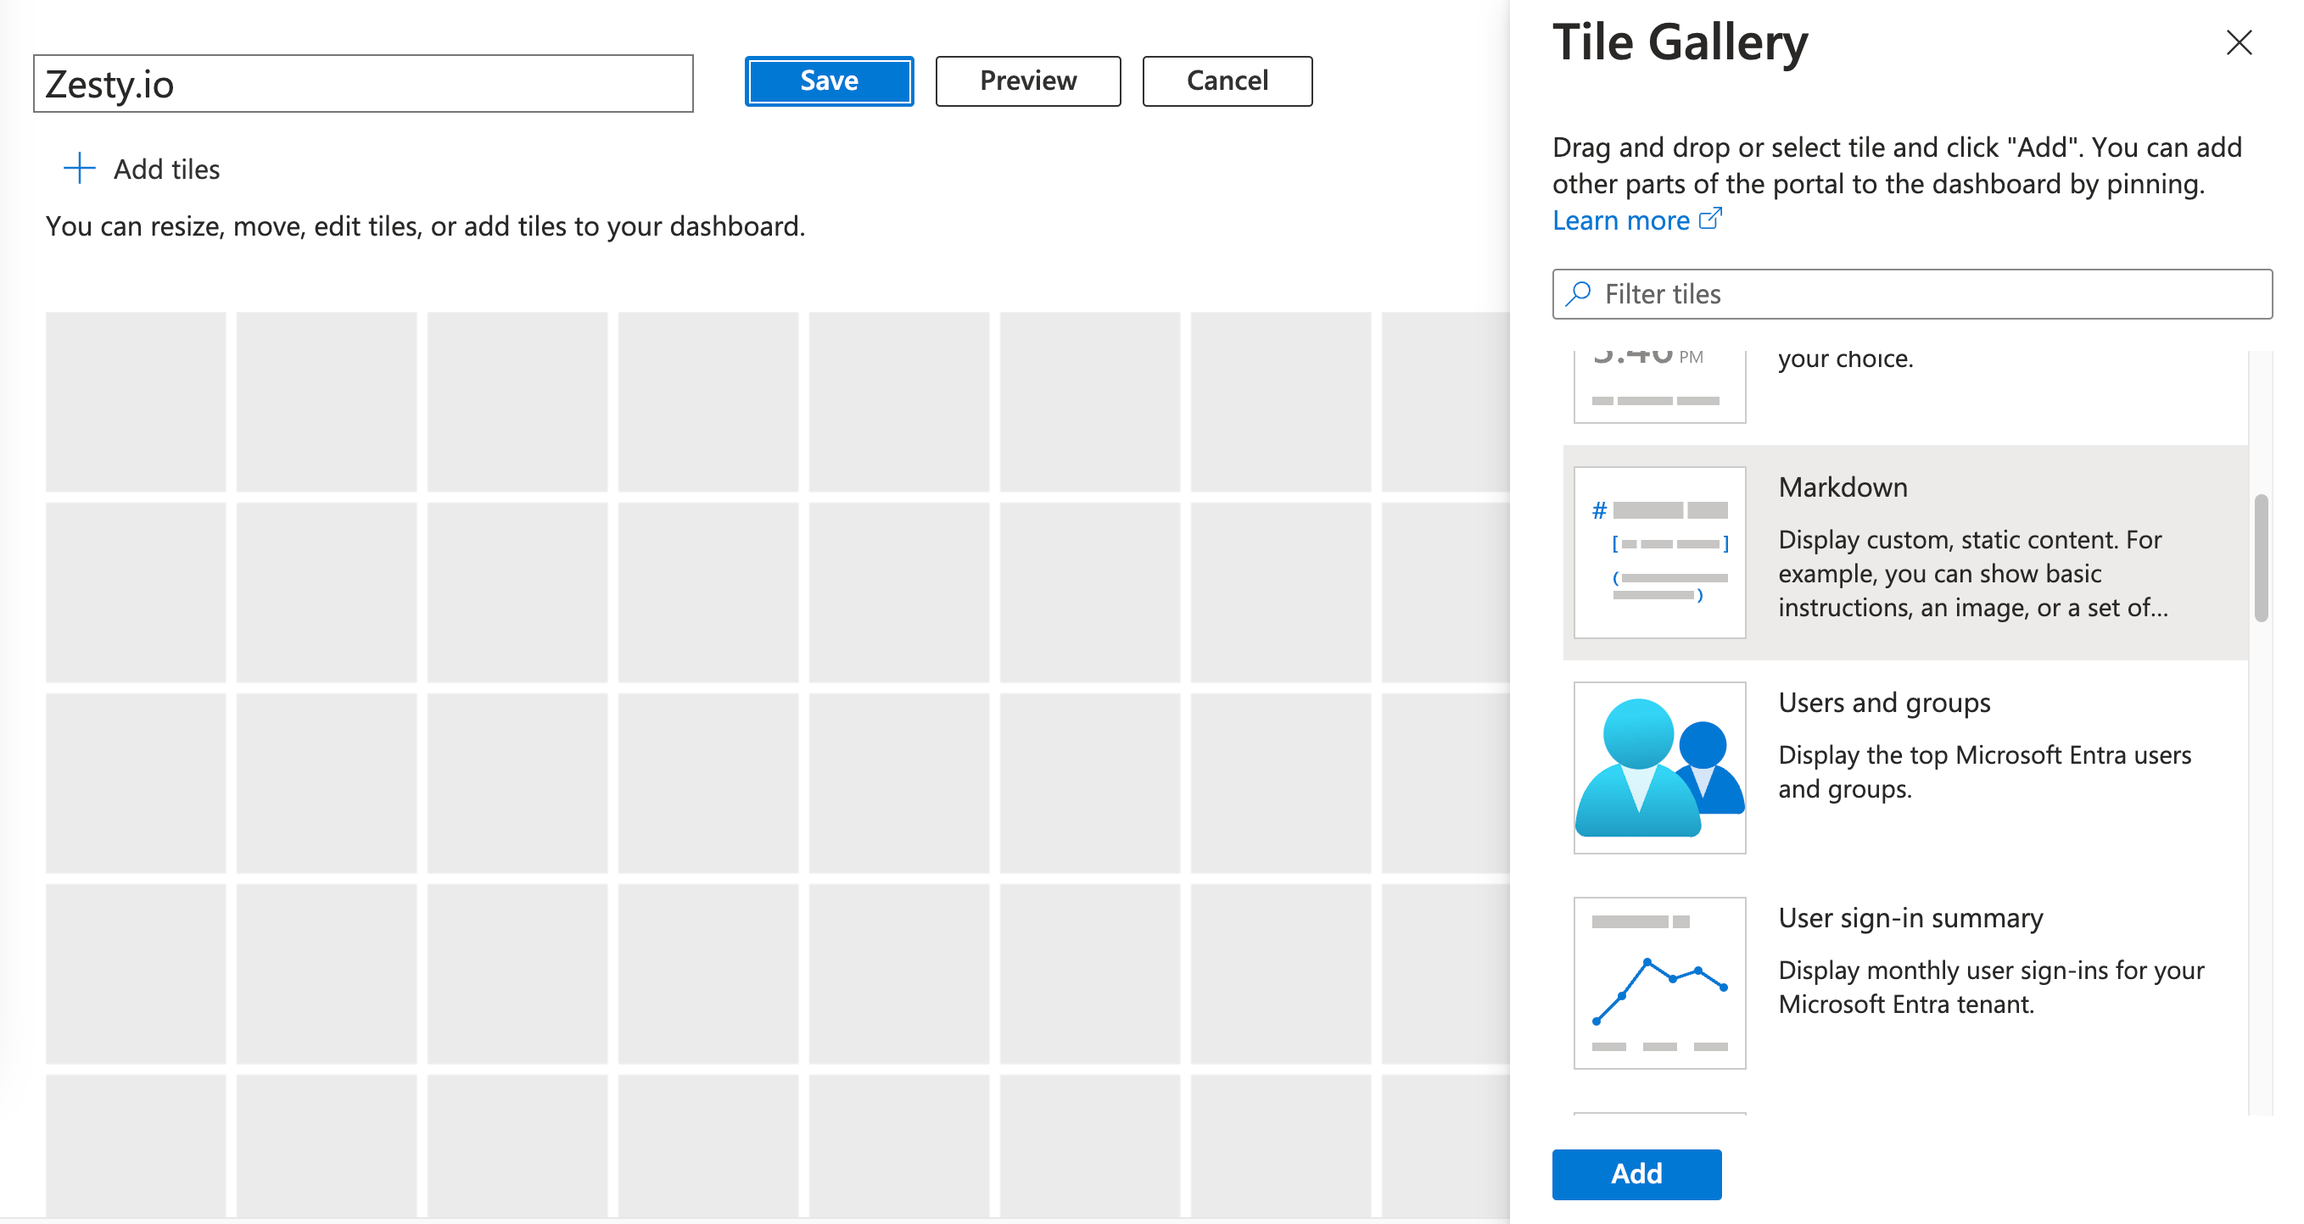
- Rename the dashboard to Zesty.io
Creating the custom markdown tile
- Add a markdown tile

- Edit markdown with the following details:
- Title - leave as blank
- Subtitle - leave as blank
- Content - Inline editing using this HTML
<div style='display:flex;flex-direction:column;justify-content:center;align-items:center;'>
    <a href='https://auth.api.zesty.io/azure/login'><img src='https://brand.zesty.io/zesty-io-logo.png' style='height:70px;'/></a>
    <h2>Zesty.io</h2>
</div>
The markdown details are fully customizable. The only important detail to add is the link of the tile/button to use https://auth.api.zesty.io/azure/login
- Save the markdown and the dashboard created/updated
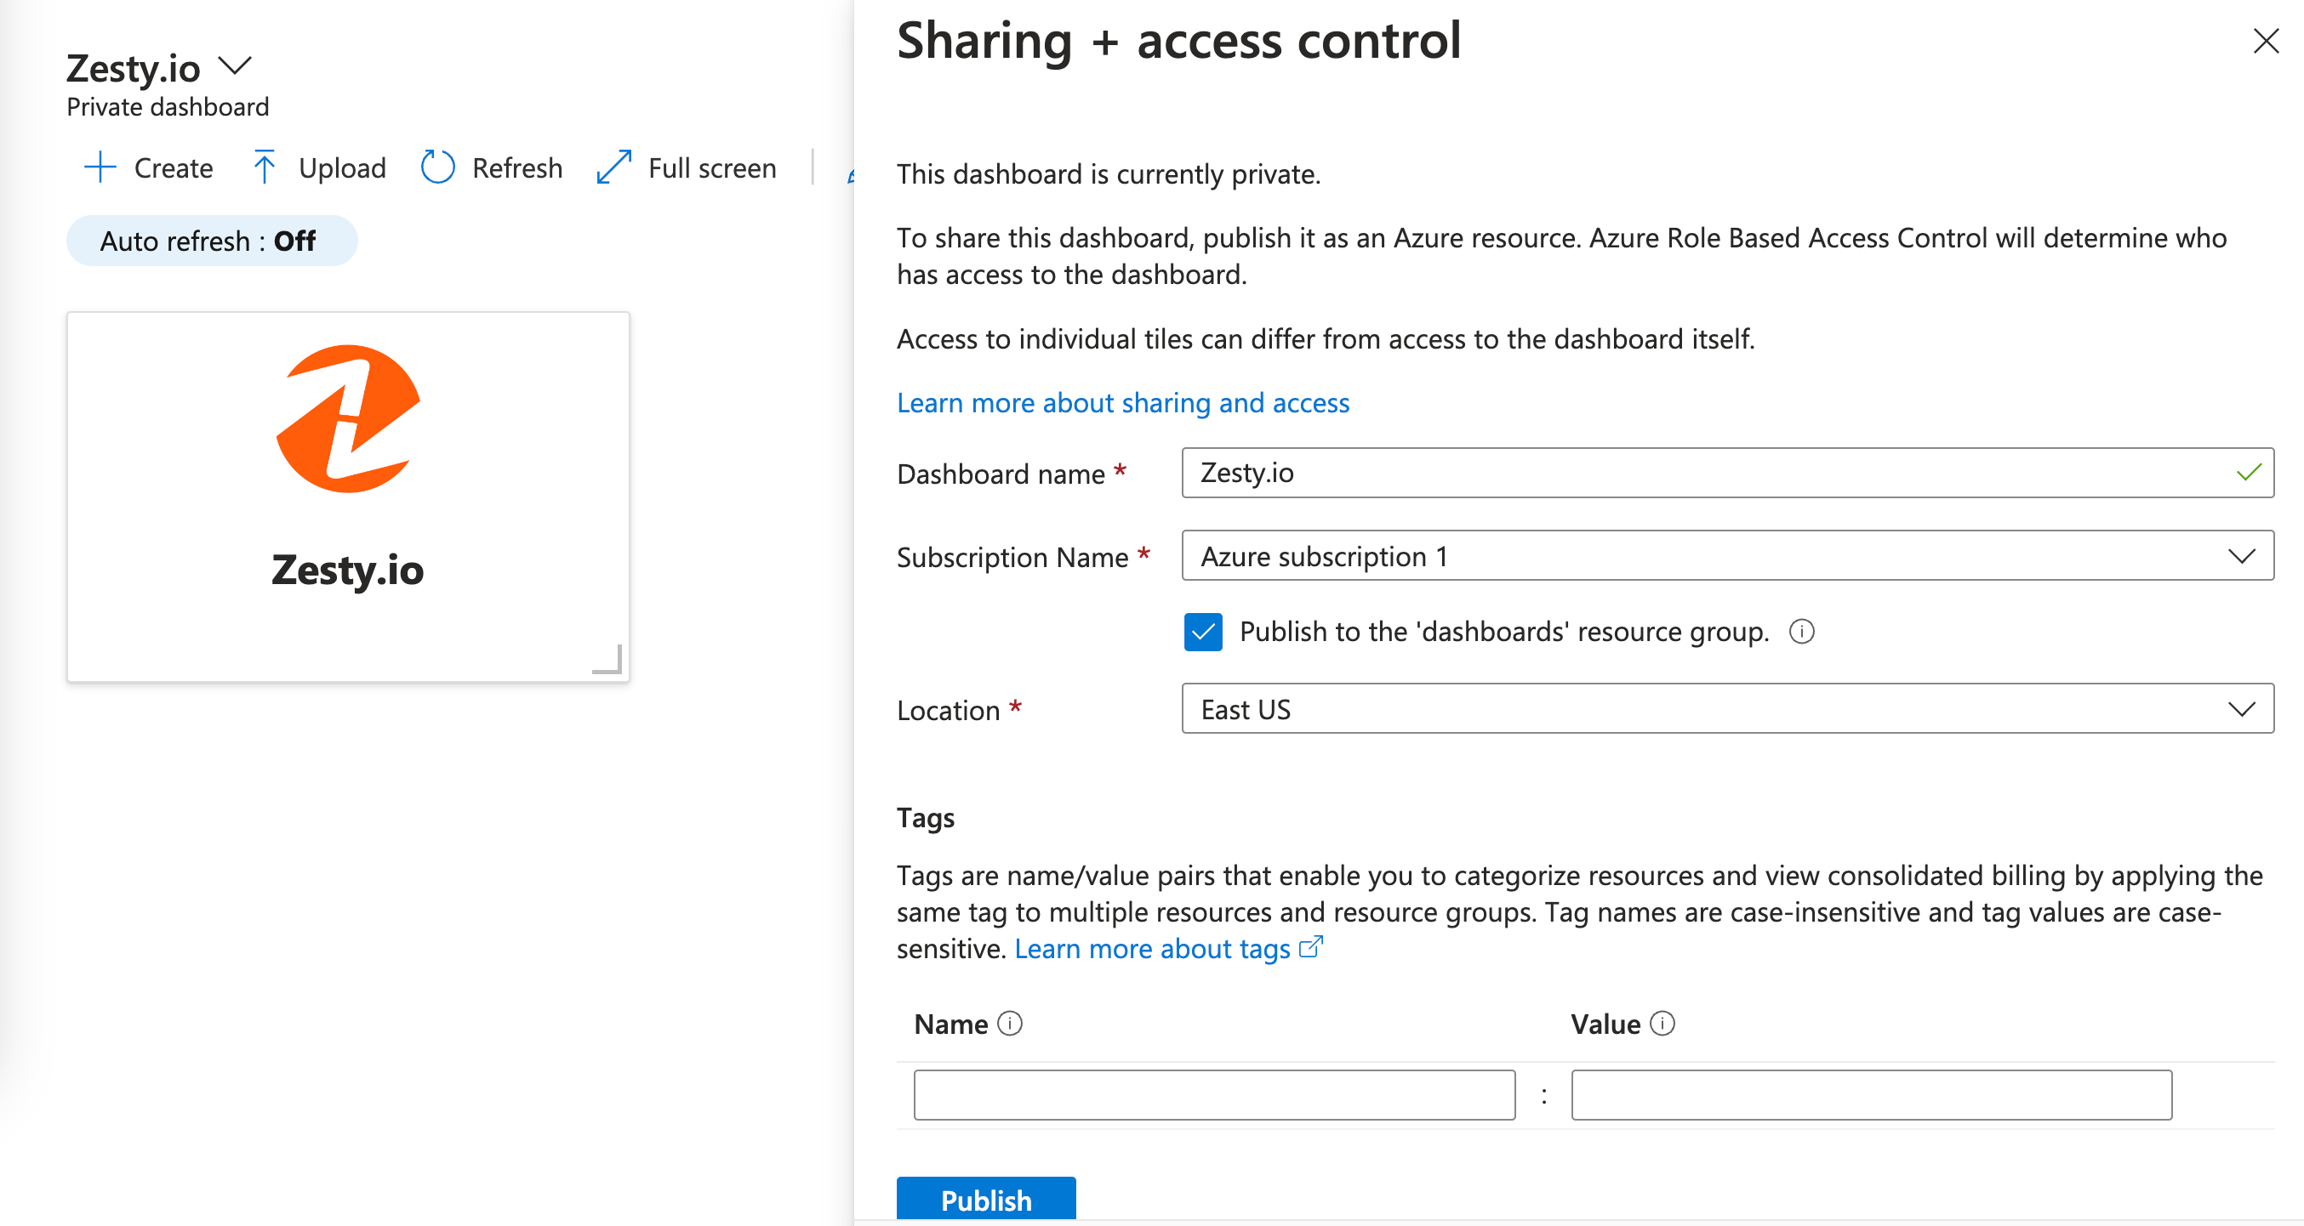
- Publish the dashboard by clicking Share

- Once the dashboard is published, go to Manage sharing > Access control
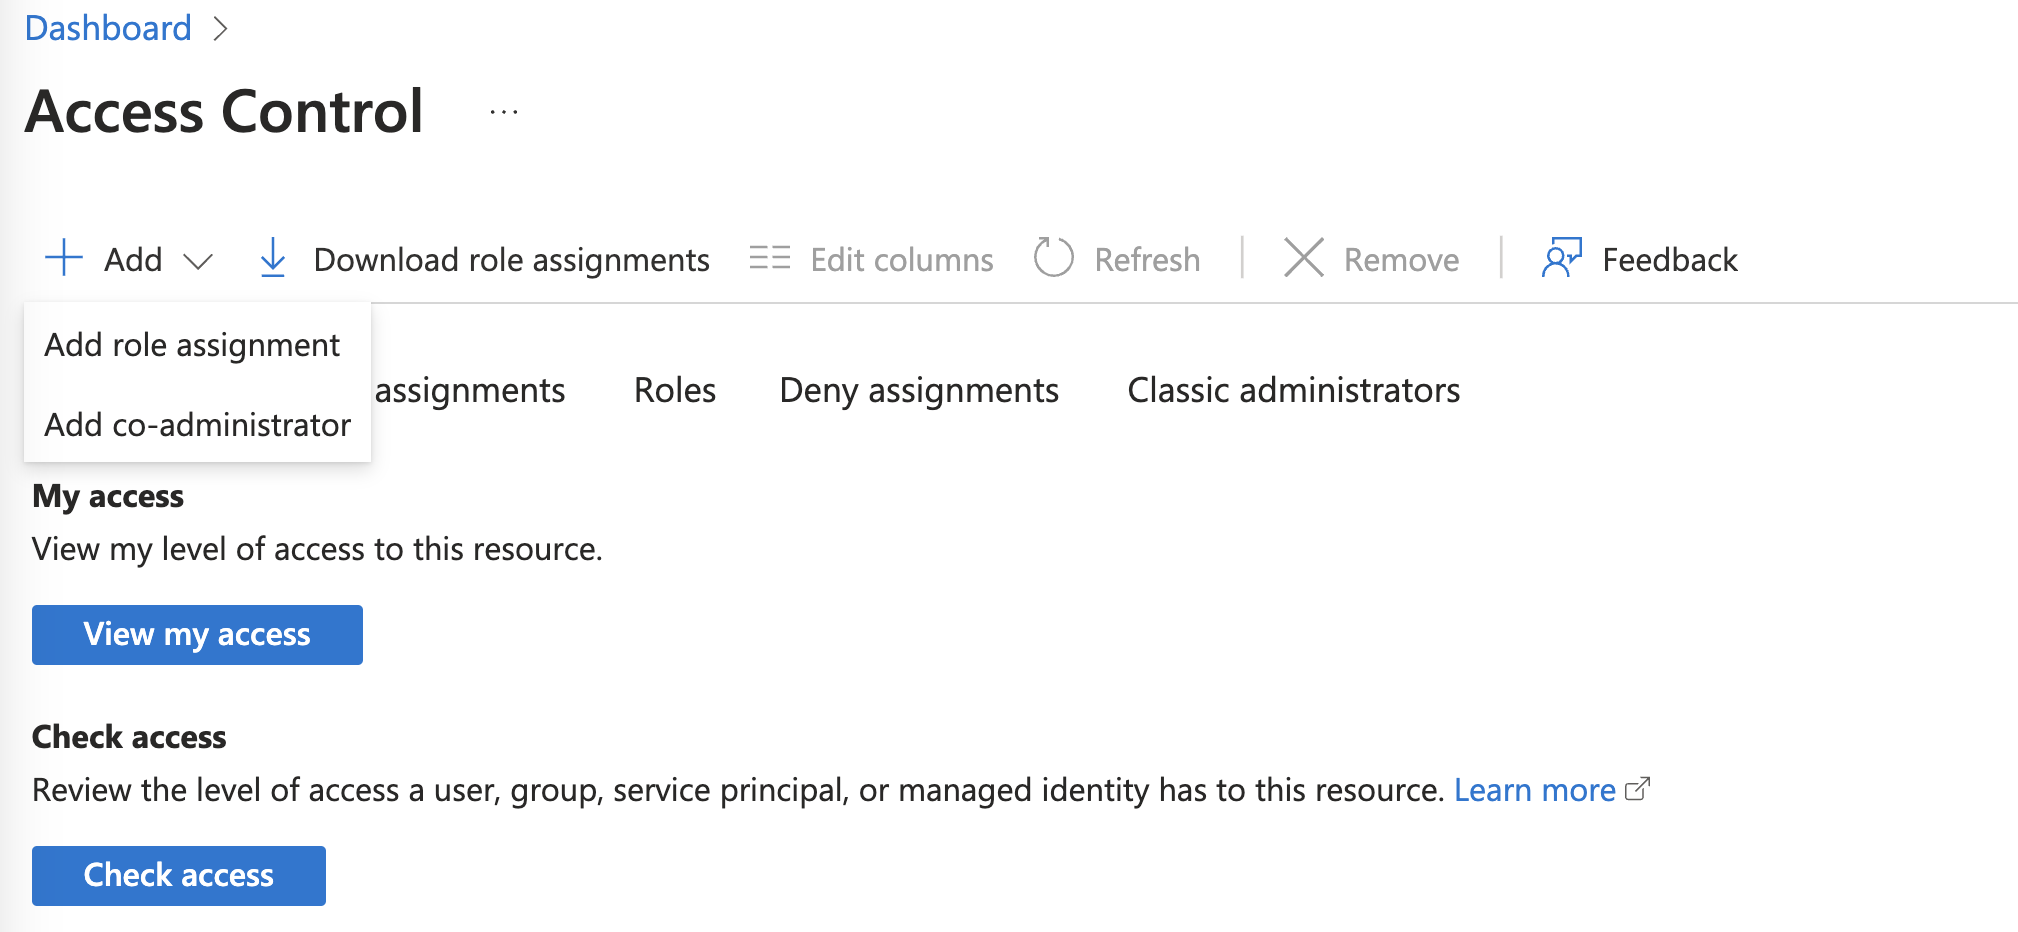
- Go to Add > Role assignment and select roles and members to grant access to the dashboard
- Once roles and members are selected, click Review + assign

Notes
- Users who haven’t used their email in Zesty will have a new account created for them.
- Zesty user roles and permissions are managed in Zesty per instance
- Roles are assigned when inviting a user to a instance in Zesty
Resources
- Creating an Azure dashboard: https://learn.microsoft.com/en-us/azure/azure-portal/azure-portal-dashboards
- Using a custom markdown tile: https://learn.microsoft.com/en-us/azure/azure-portal/azure-portal-markdown-tile
- Sharing Azure portal dashboard: https://learn.microsoft.com/en-us/azure/azure-portal/azure-portal-dashboard-share-access
- Microsoft Entra roles: https://learn.microsoft.com/en-us/entra/identity/role-based-access-control/
Updated almost 2 years ago
