
Inviting Users
Guide on how to invite users to your Instance
After the creation of an Instance, one of the next steps is to give additional users access, as needed. This can be achieved within the Instance Settings Drawer, utilizing the form located in the User access section
When granting users access to an Instance, users will be assigned a role. This role governs a user's permission to access apps in the ecosystem and the actions they are allowed to perform. You may refer to the Roles & Permissions for additional information.
Sending a User Invitation
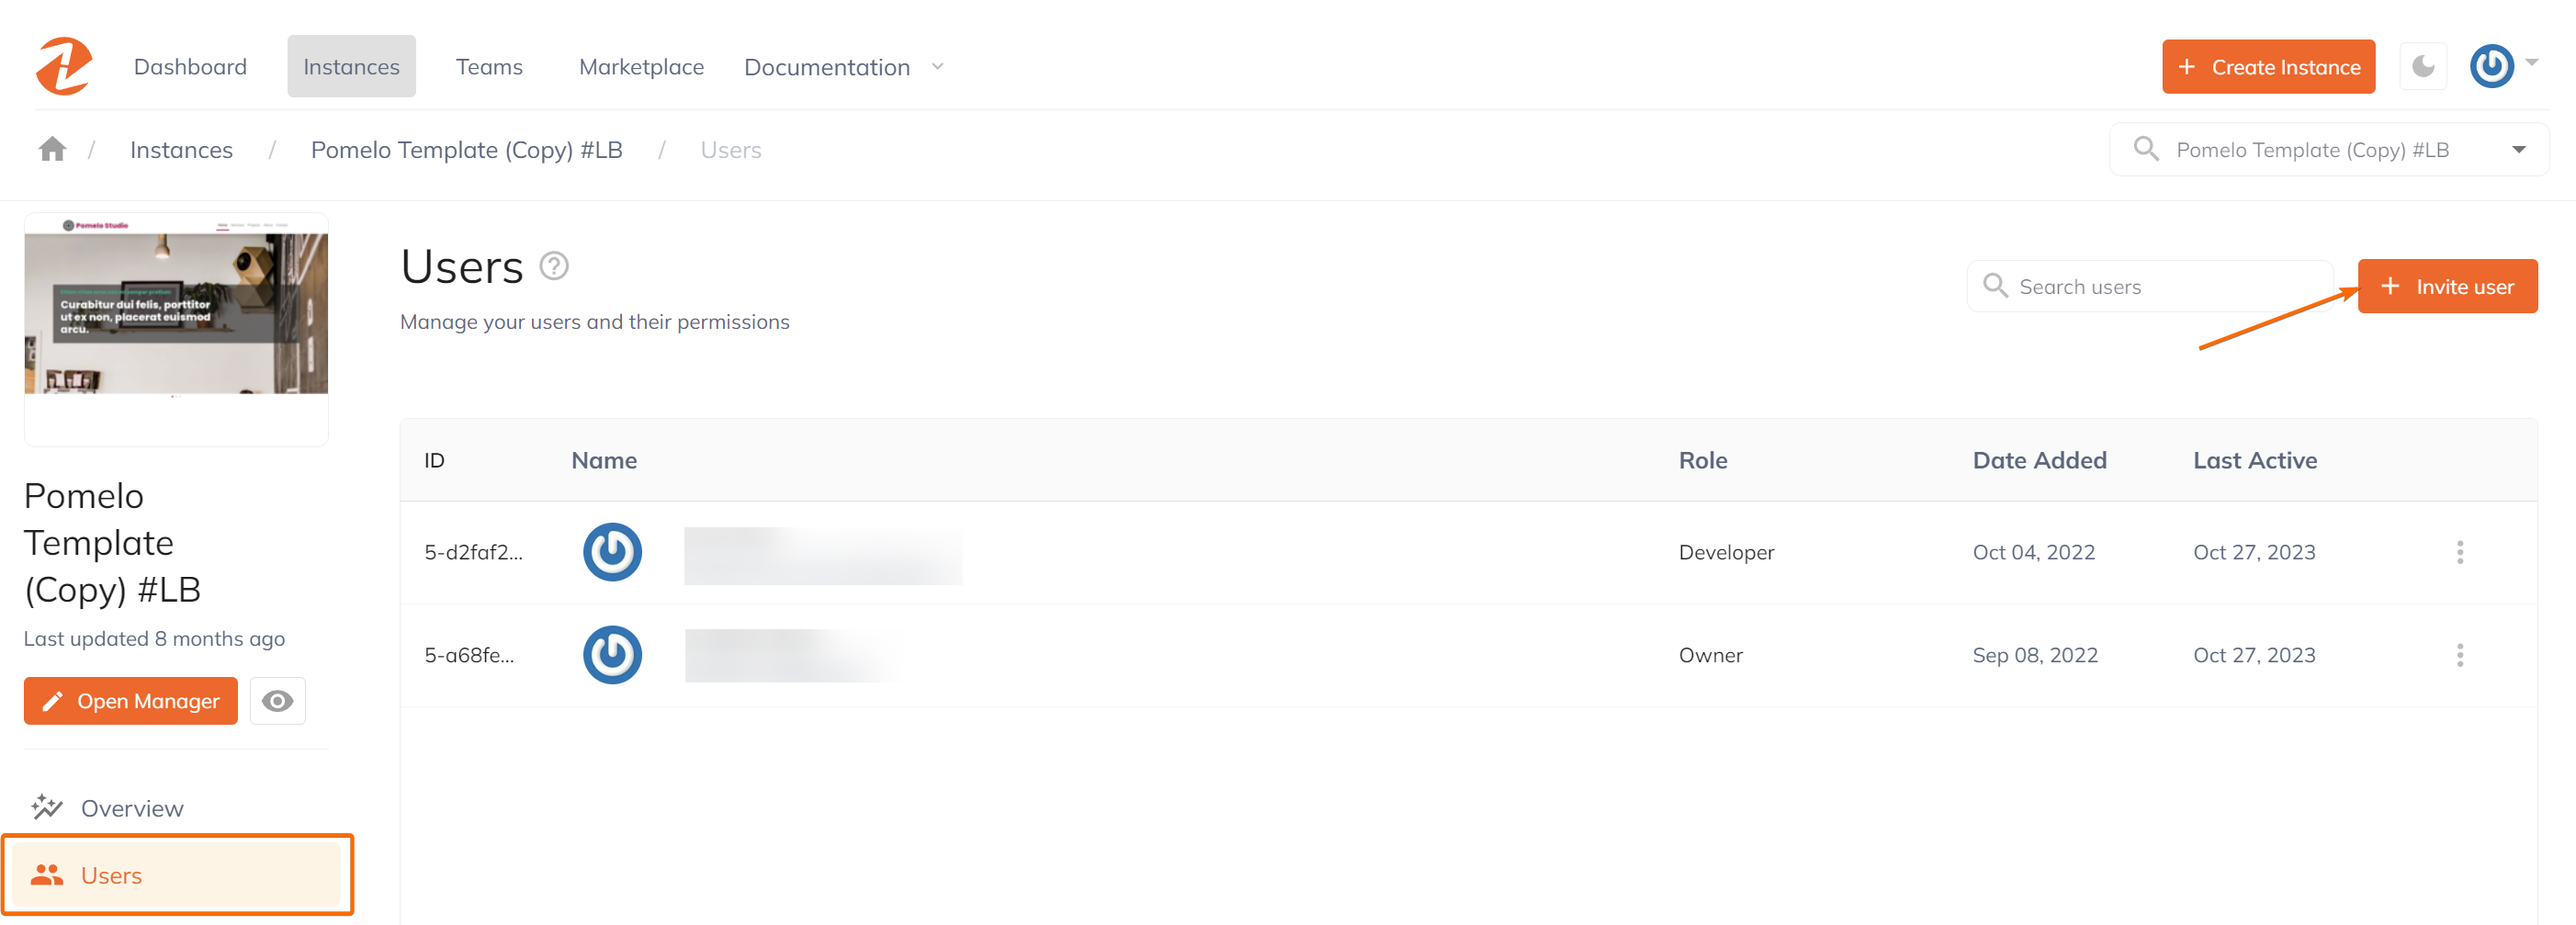
Go to the specific Instance > Users > Invite user
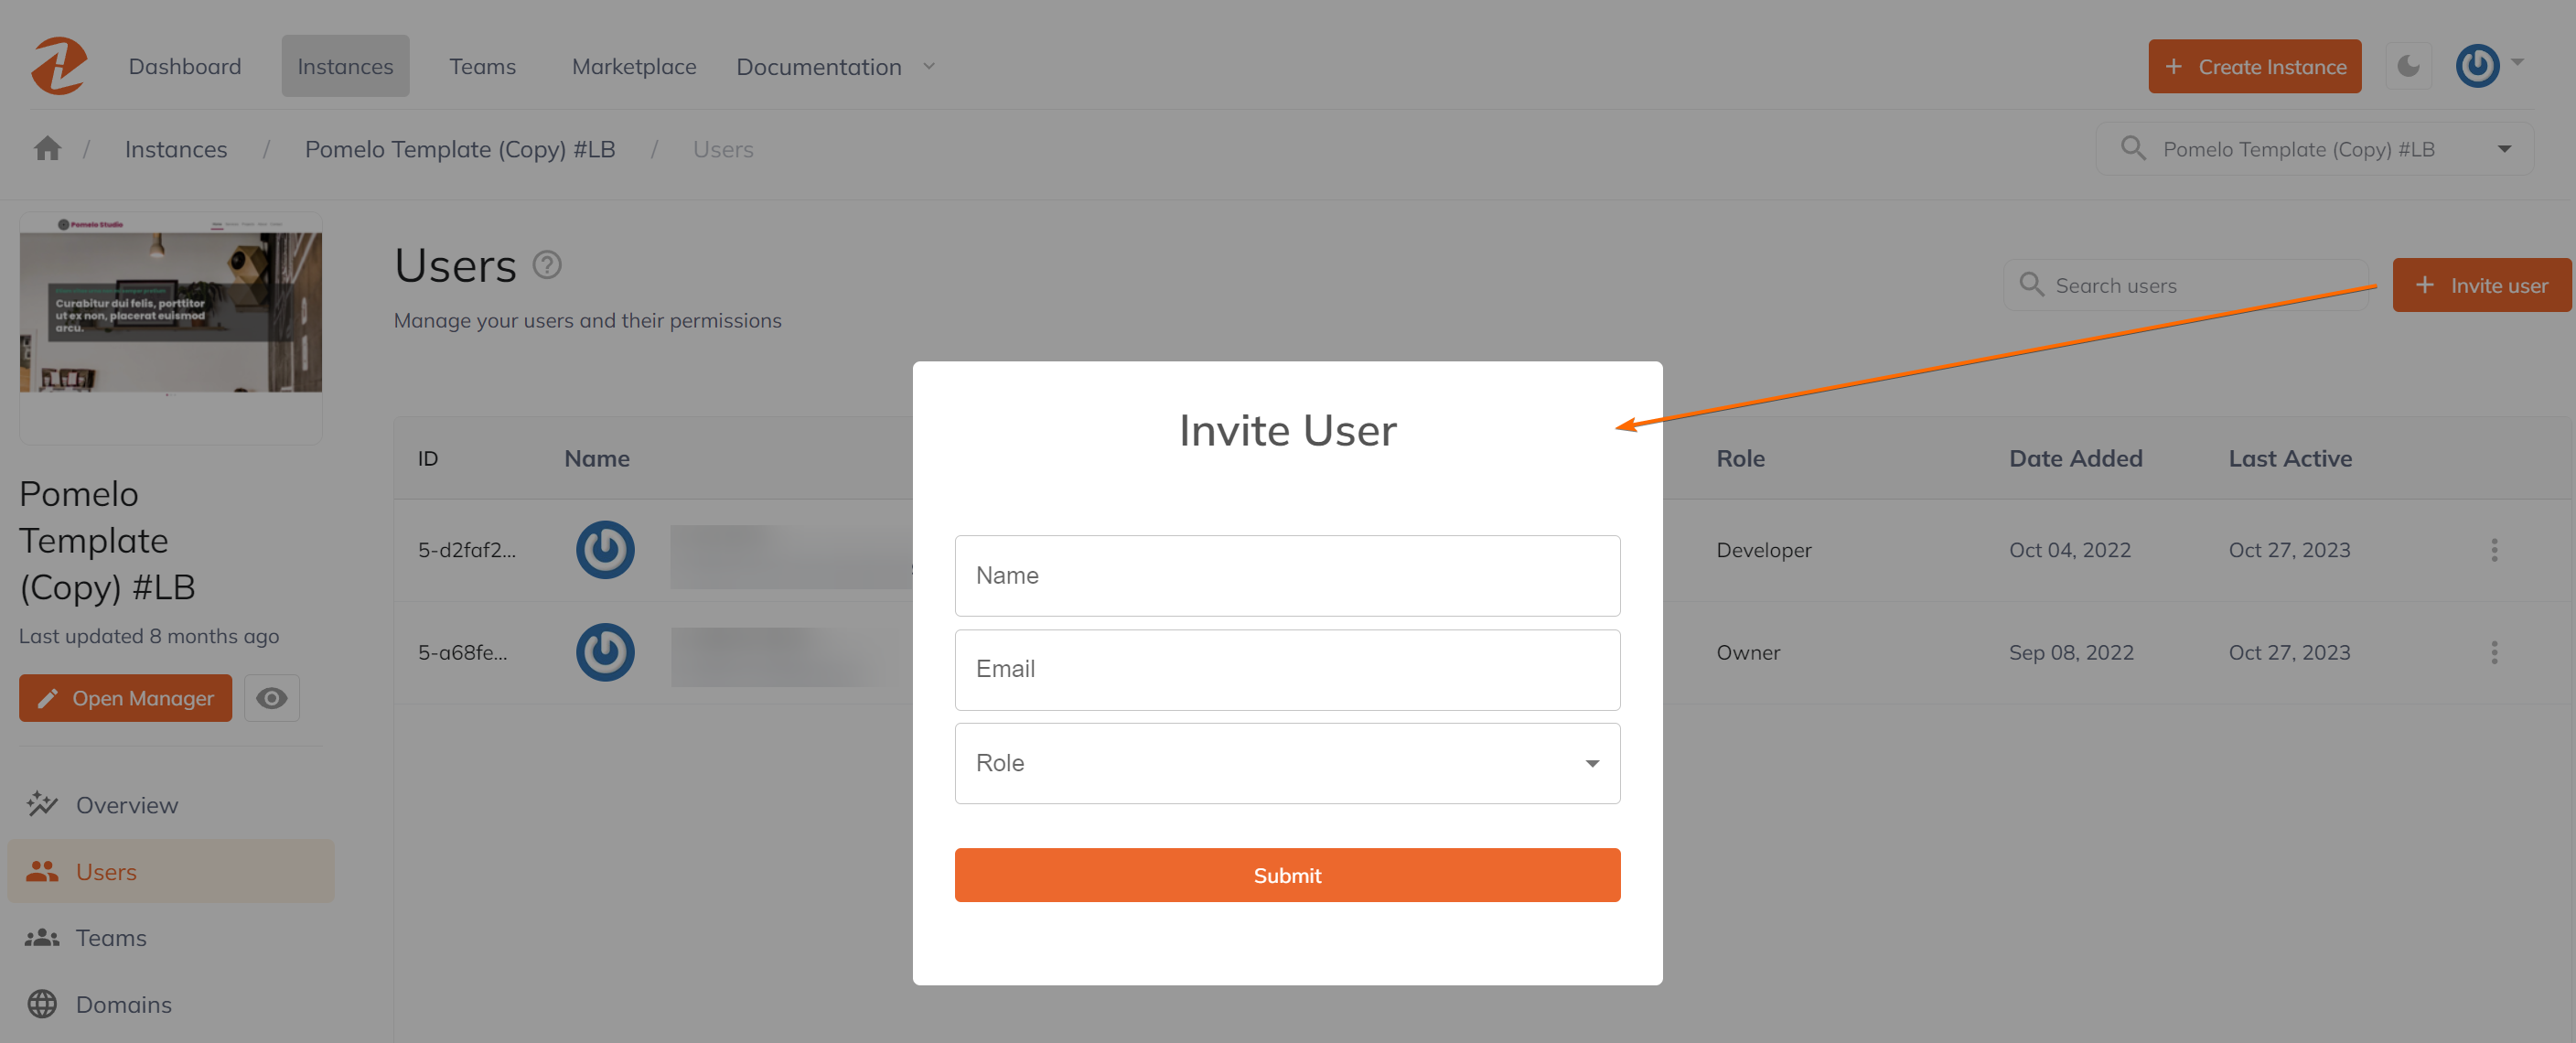
In the form field, input the name of the user, email address, and the specific access or role, then click the Submit button.
Warning: The email address the invitation is sent to, must match the email address the user has created or will create their account credentials with.
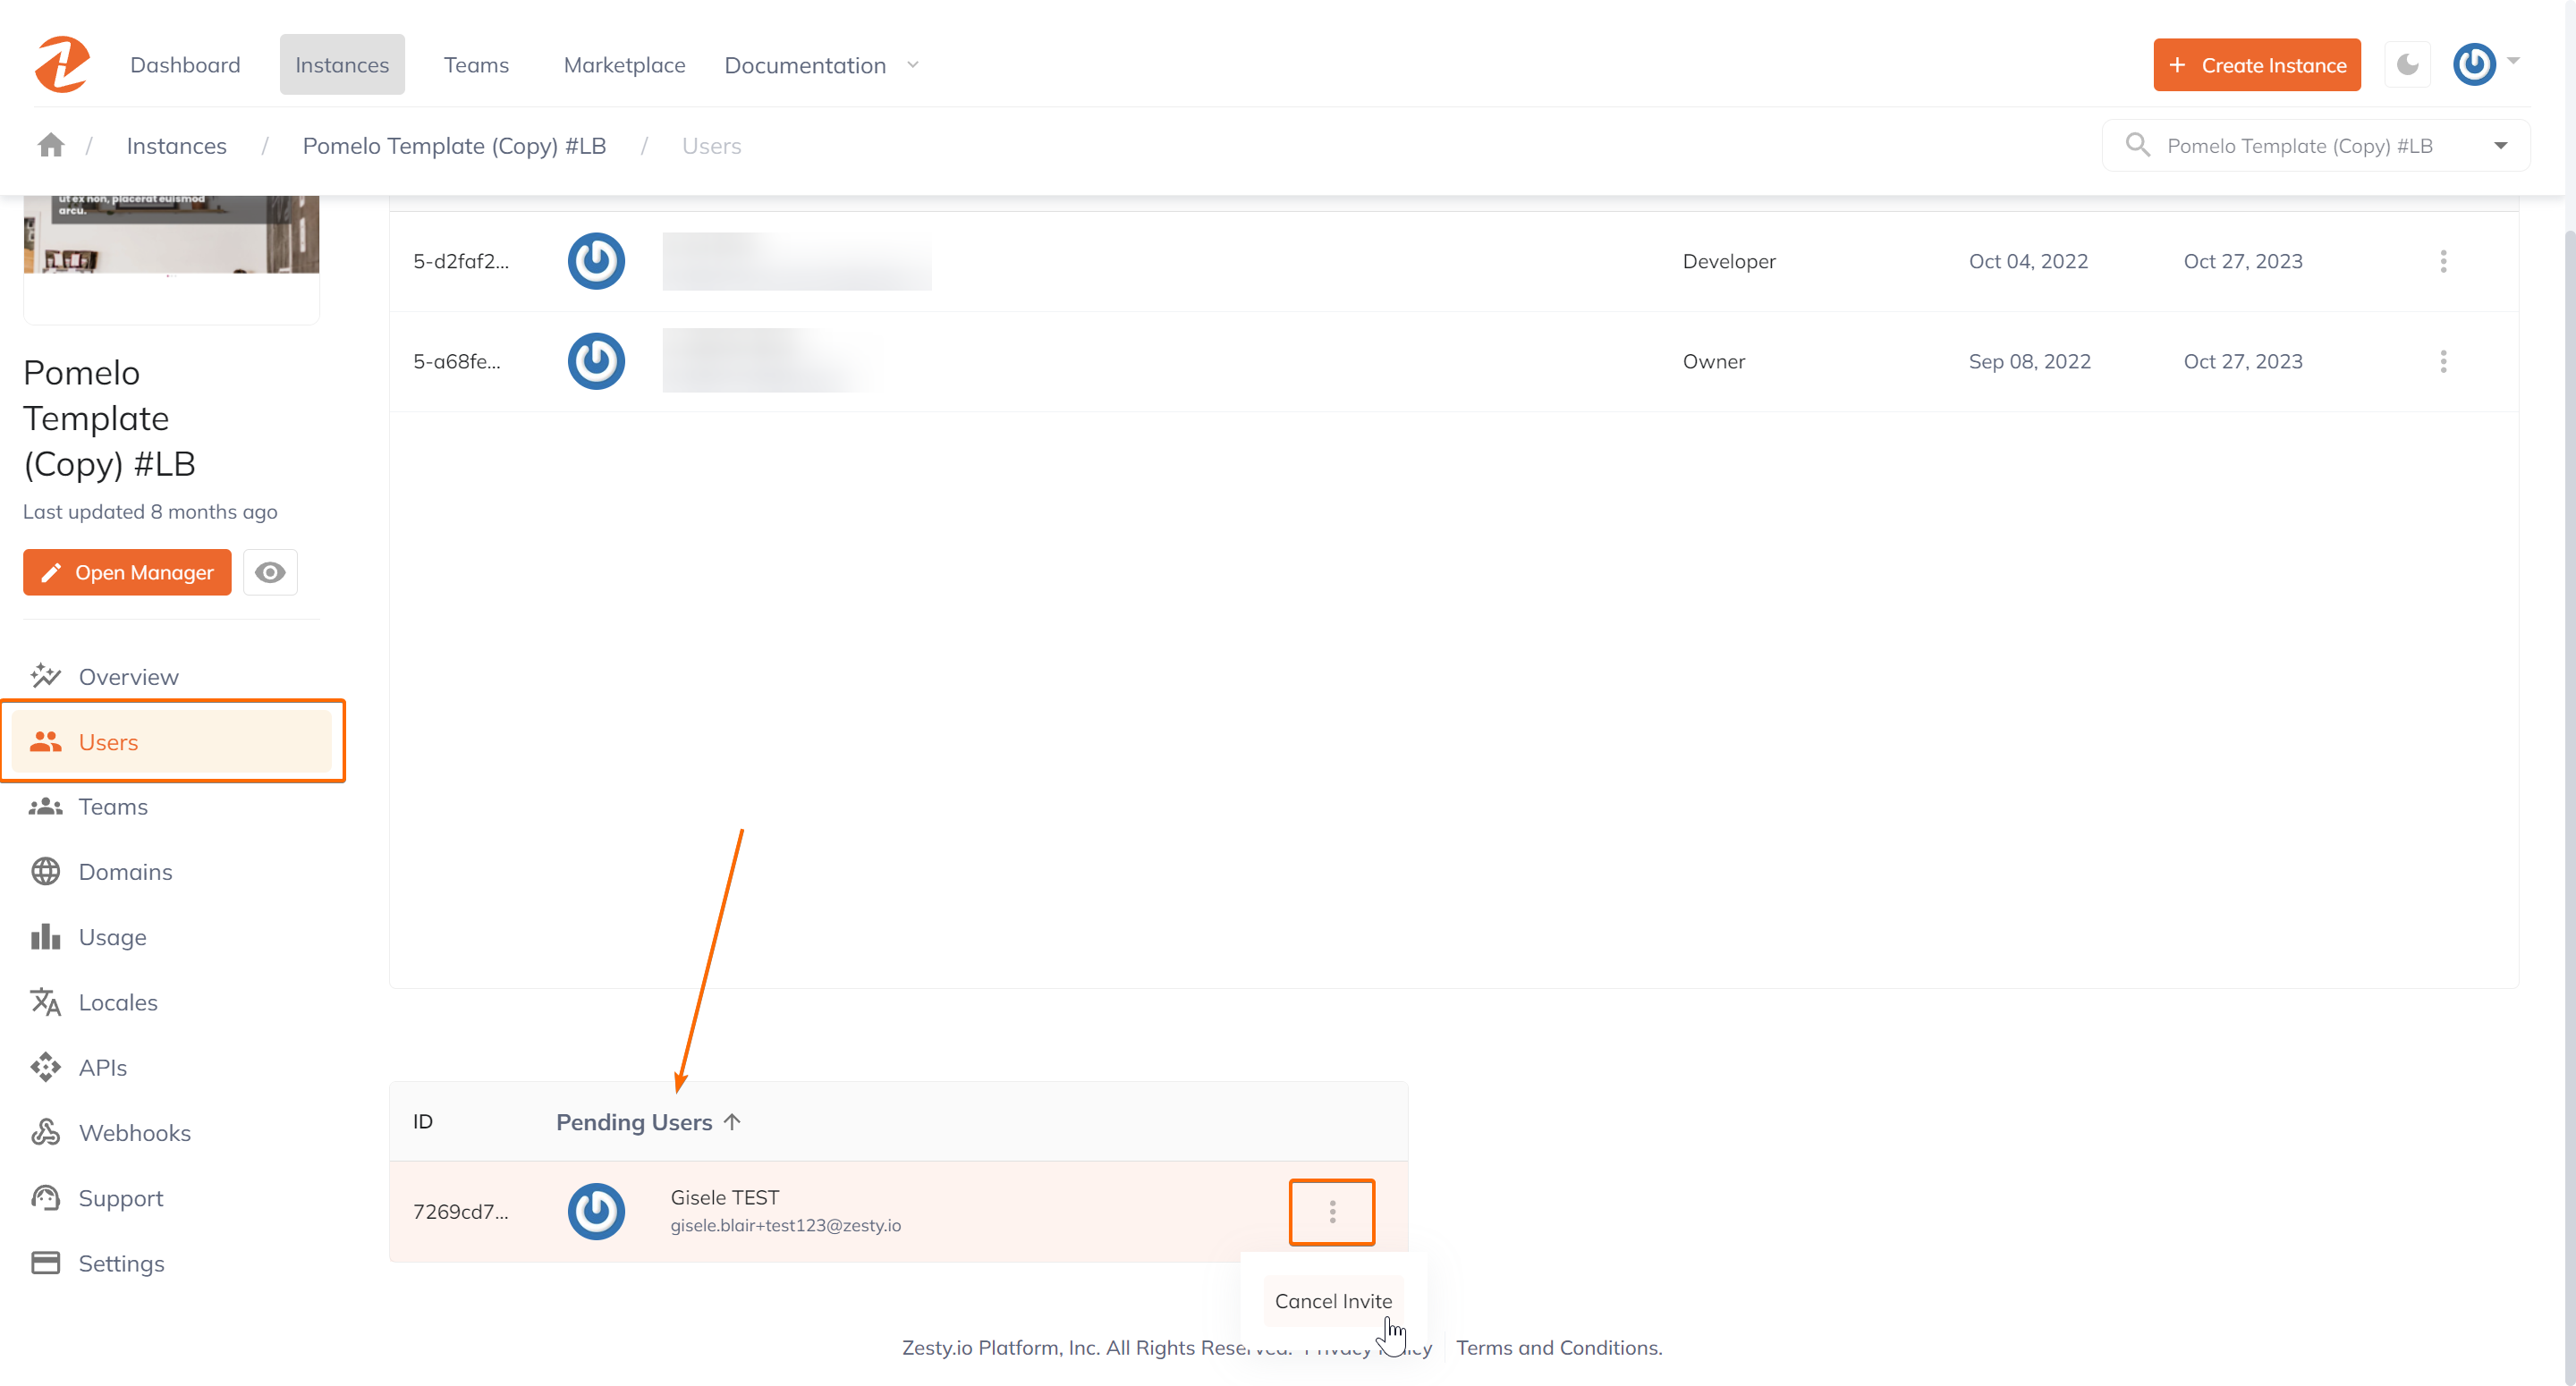
Once submitted, the invited user will be listed under Pending Users until the user accepted the invite. There's also an option to Cancel Invite whenever applicable.
Updated 1 day ago