
Adding a Favicon
Favicons serve a branding and help users identify your site when you have multiple browser tabs open.
Favicons are typically 16x16 pixel icon that's shown in a browser's tabs and bookmark lists. They not only serve as branding, but they help users easily identify your site in bookmark lists and among multiple browser tabs.

Steps to add or update a favicon
1. From the Content Manger, click the icon just beside your Instance Name found at the upper left-hand corner. Once clicked, you will see a list of features including the option to add or update favicon.
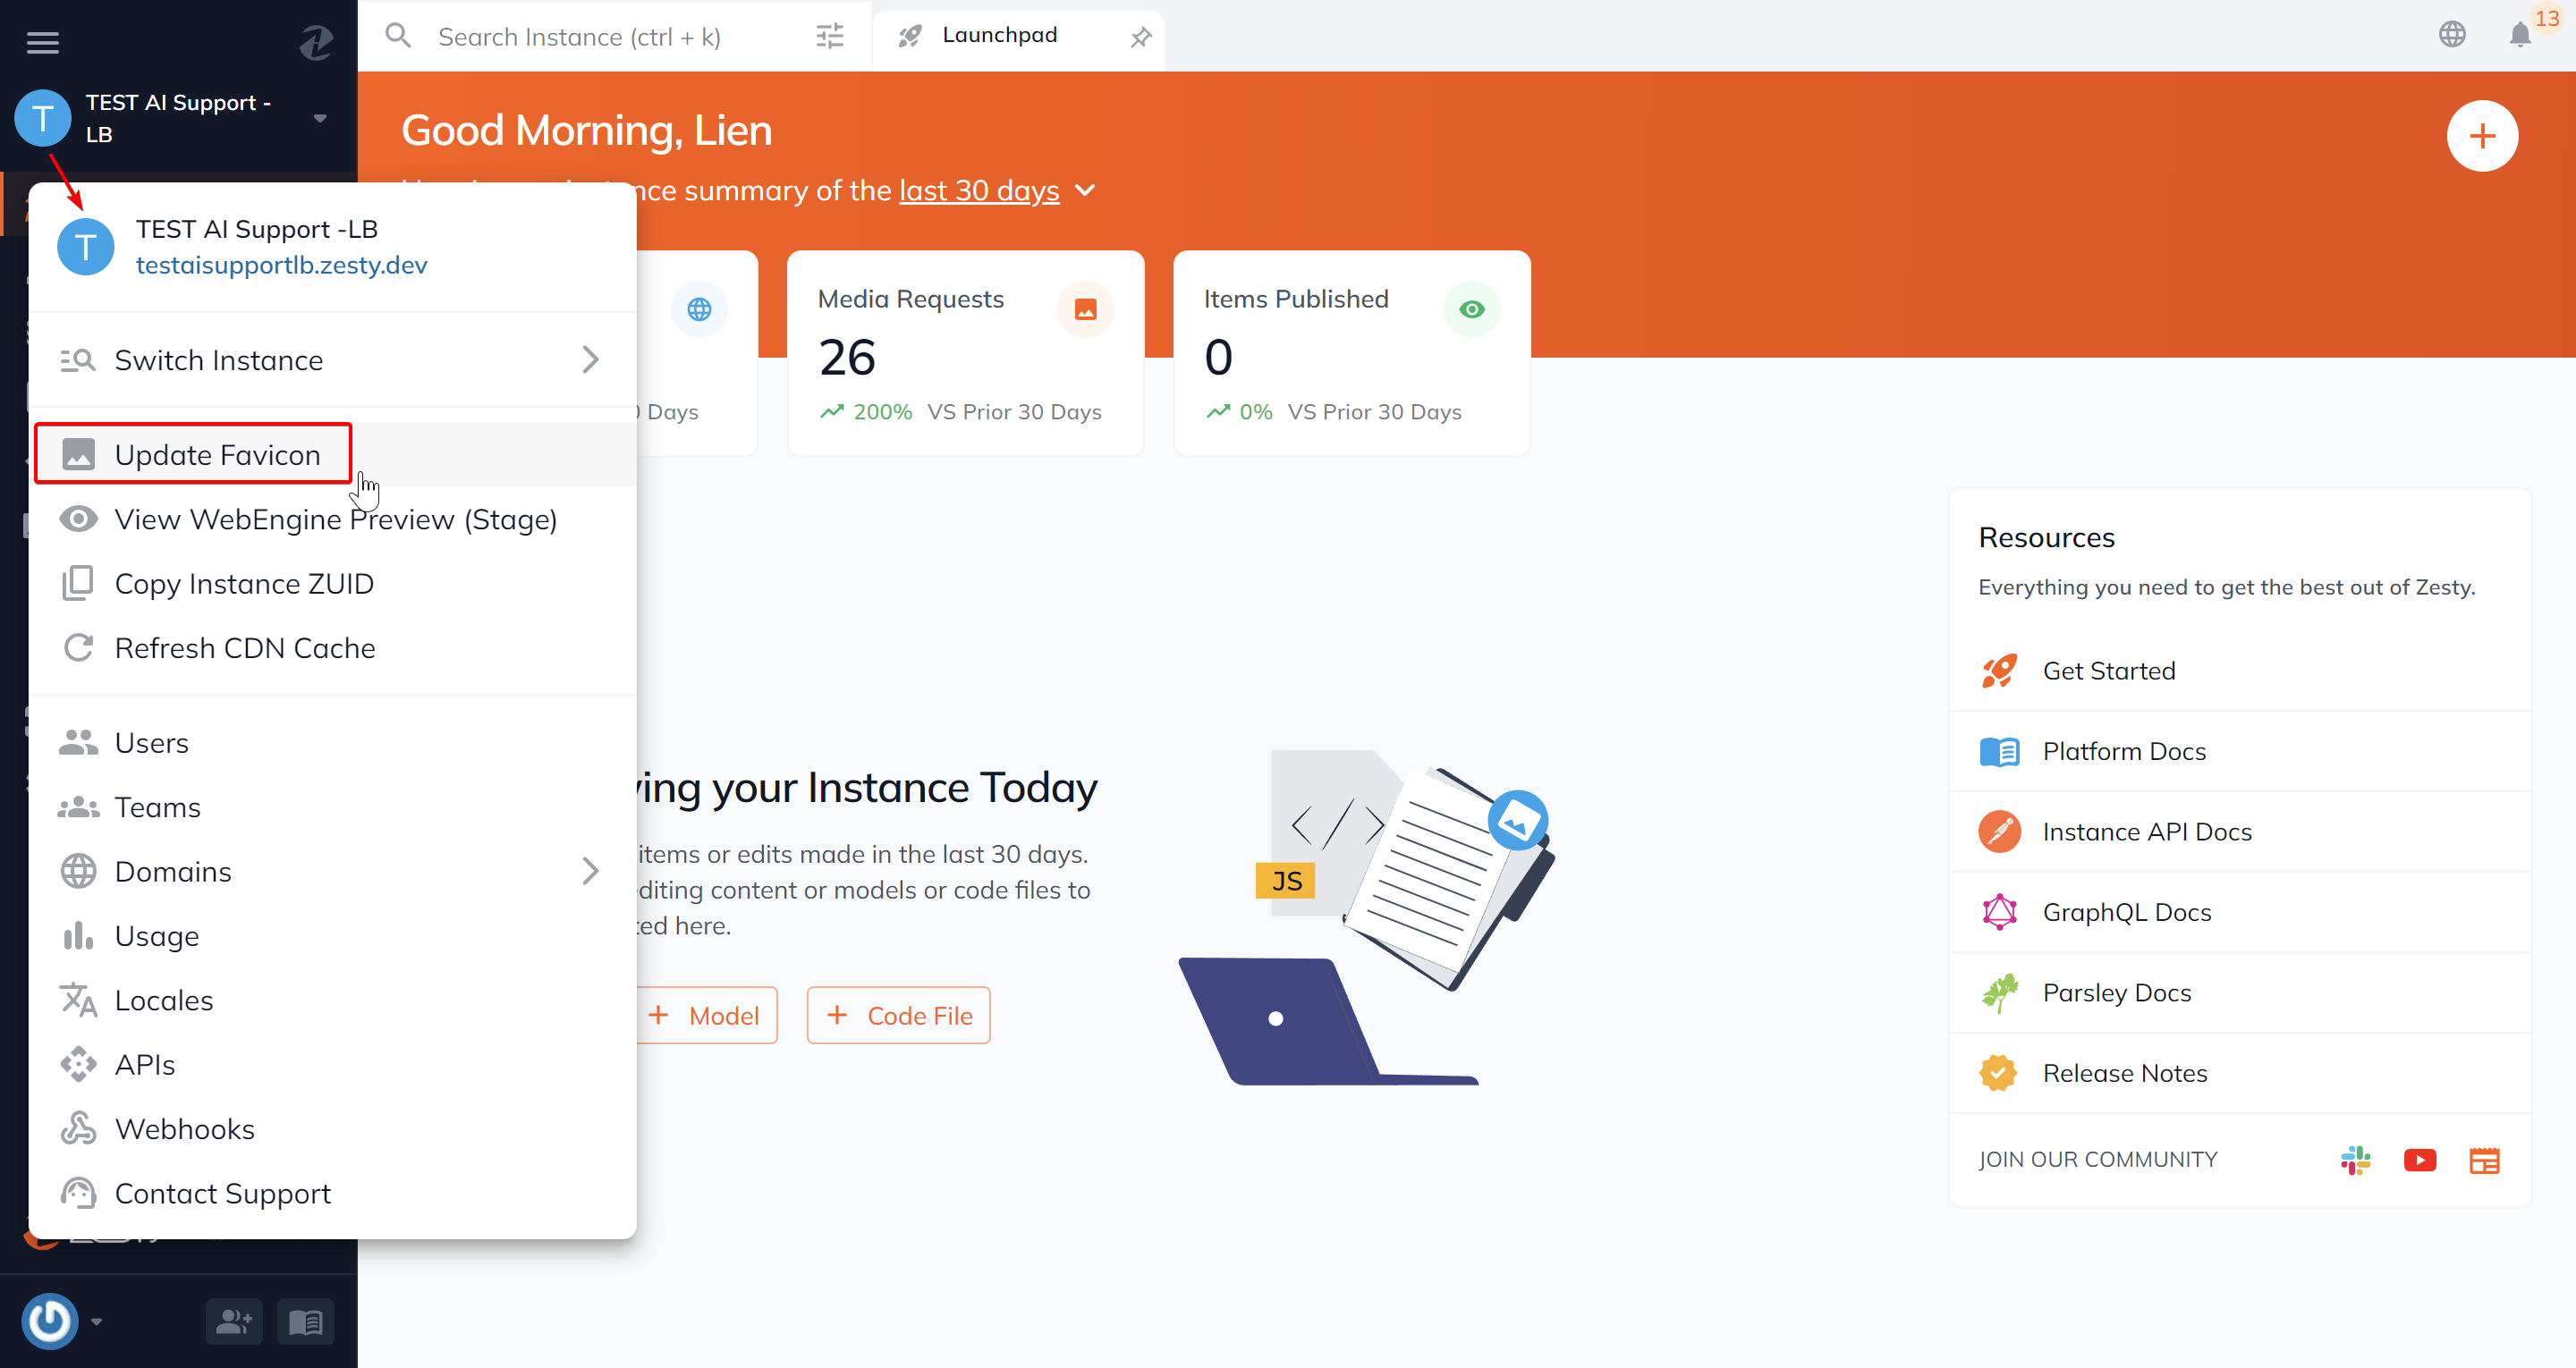
2. Click the Update Favicon to launch the Instance Favicon modal.
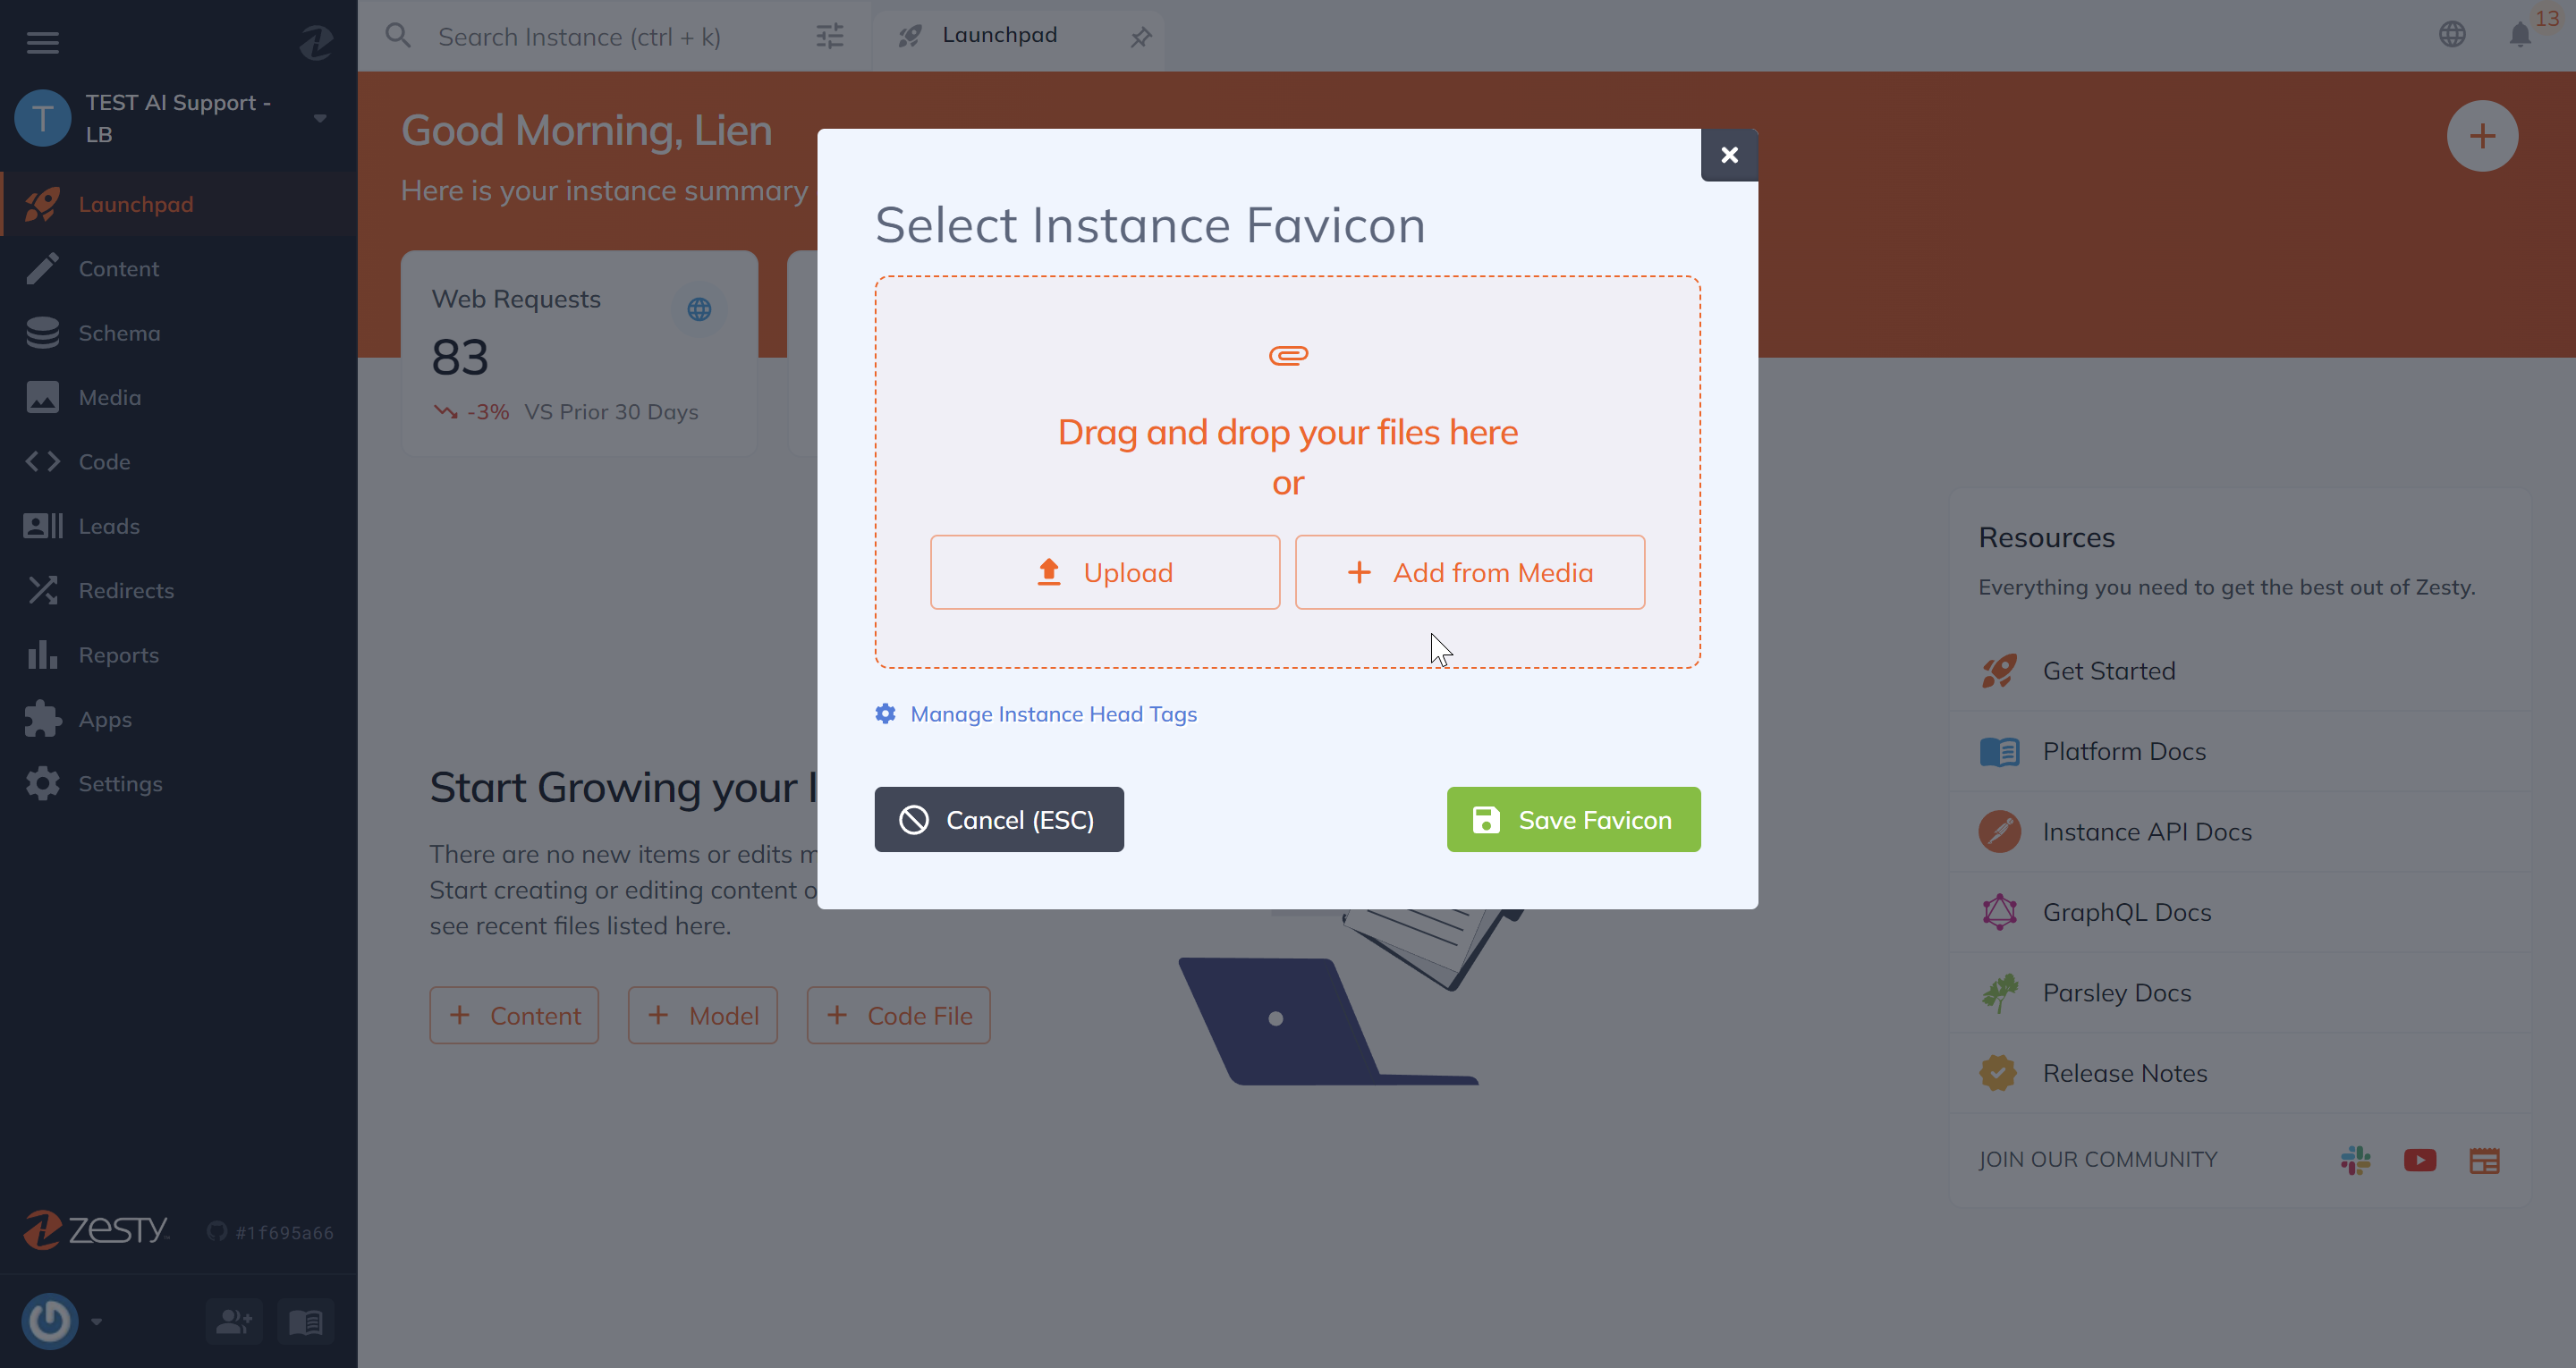
3. From the Instance Favicon modal, you have the option to upload a new image or select an existing image from your media folder. After uploading or selecting an image for your favicon, Zesty will show you the favicon at different sizes.
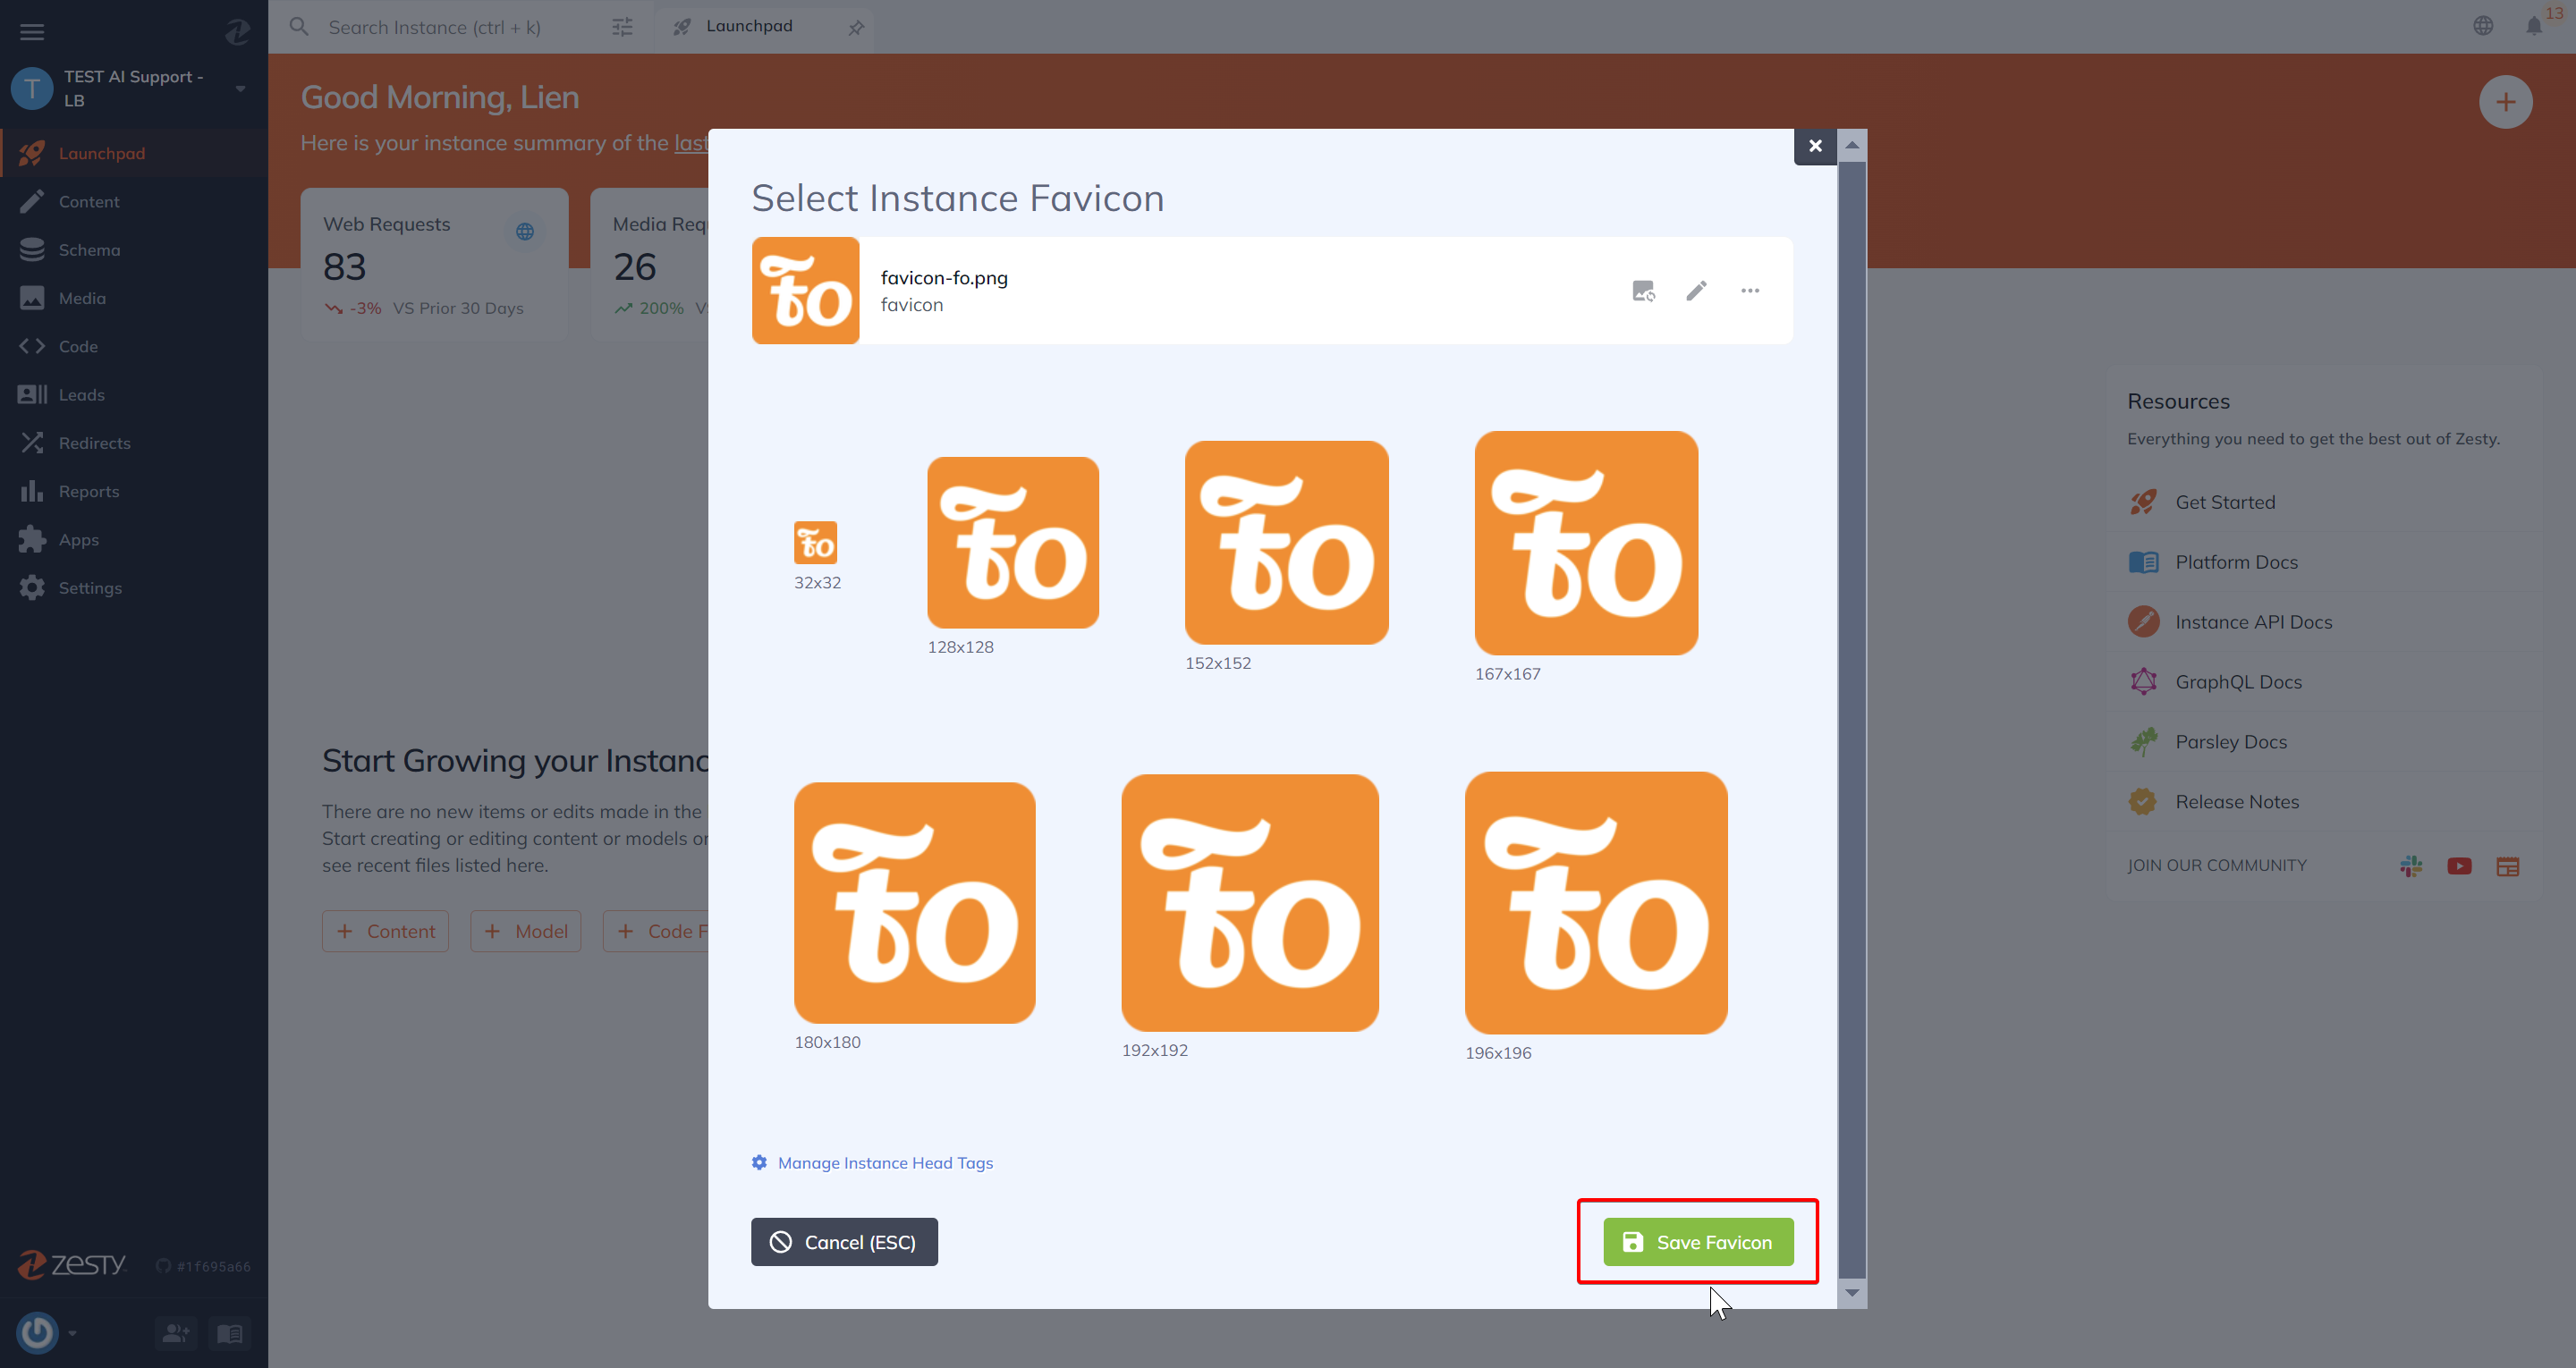
Finally, click the Save Favicon button.
You should now be able to view your new or updated favicon!
Updating an existing favicon
1. Click on the favicon which is in the upper left-hand corner to launch the favicon modal (shown in step 1 above).
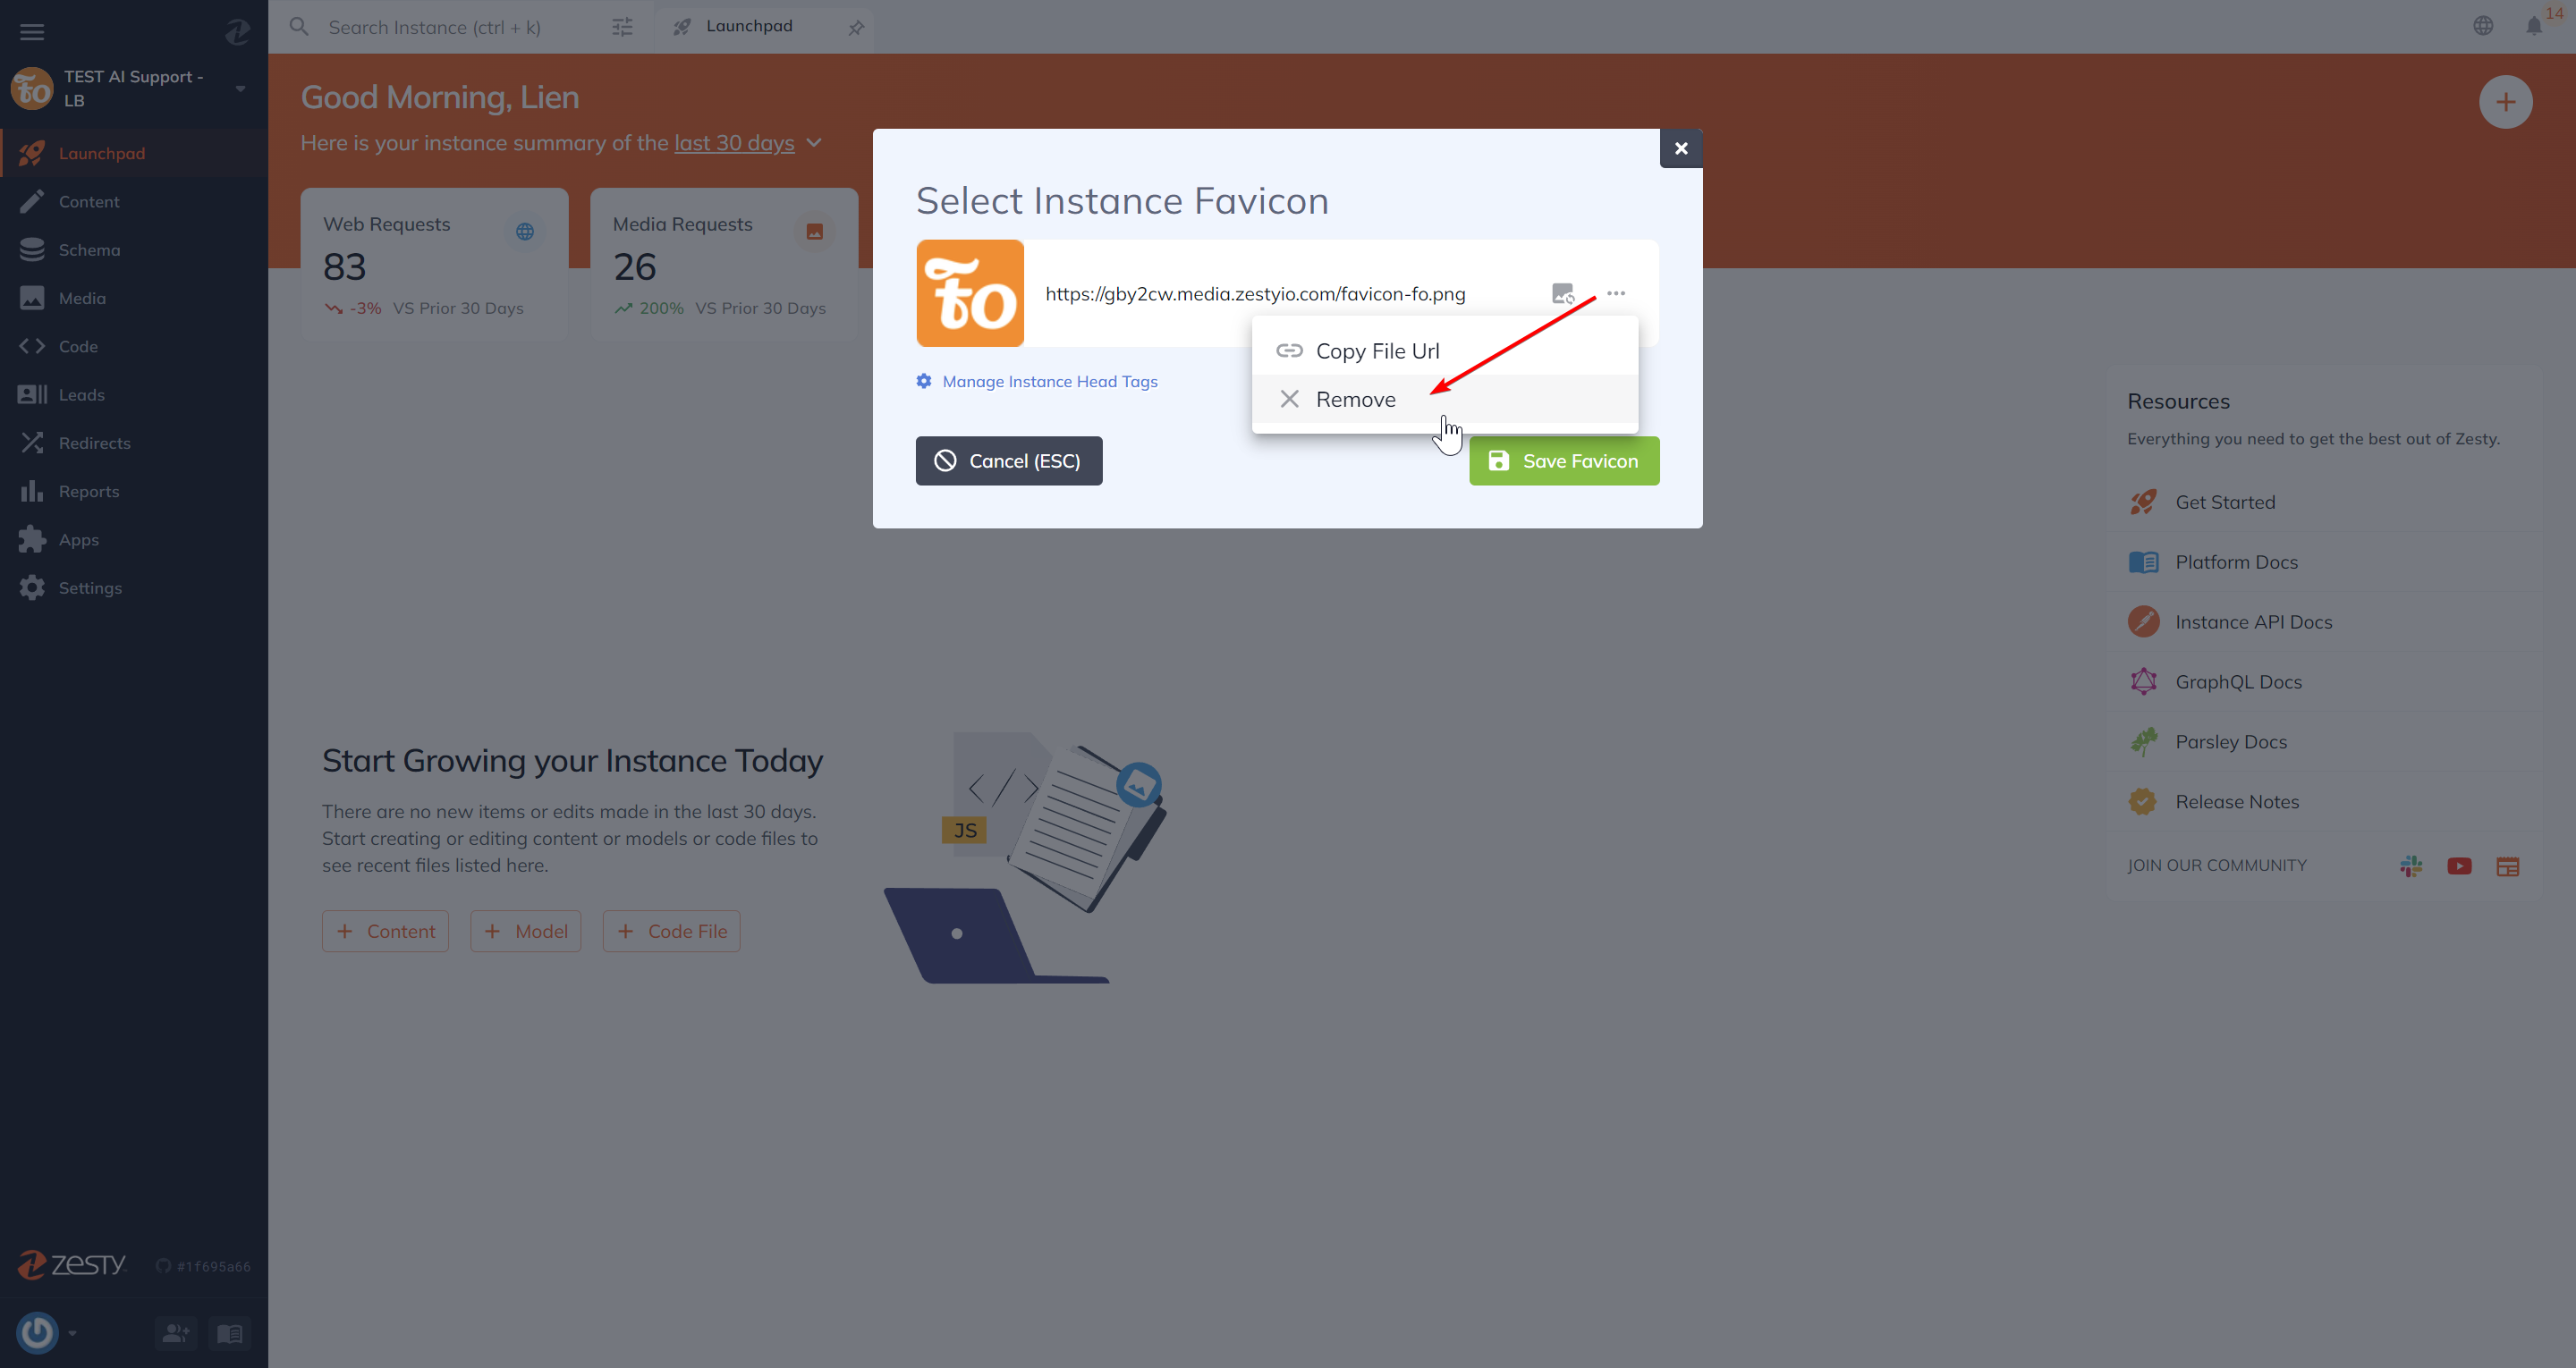
2. In the Instance Favicon modal, click the three dots to see the list of options available. Clicking the Remove option will remove the existing favicon.
Once your existing favicon is removed, you can now then add or select your new favicon following the same step 2-3 mentioned above.
Updated 1 day ago