
How to Create one_to_one Relationships
Guide on how to create a one_to_one relationship field in Zesty.io
An easy way to think of one-to-one relationships in Zesty.io is to think of radio buttons.
As opposed to something like check boxes where you can select many options for one question, with radio buttons you can only select one option for each question. One-to-one relationships in Zesty.io work exactly in this fashion. Lets take a blog for example.
When you create a blog in Zesty.io a one-to-one relationship between an article and an author is created.
<pageset
  name="blog_article"
  name_friendly="Articles"
  parent_set="blog_category"
  view="blog-article">
...
...
<fields>
<one_to_one
  name="author"
  name_friendly="Author"
  relationship="blog_author"
  relationship_field="name"
  required="1"
  list="1"
/>
...
...
</fields>
relationship:
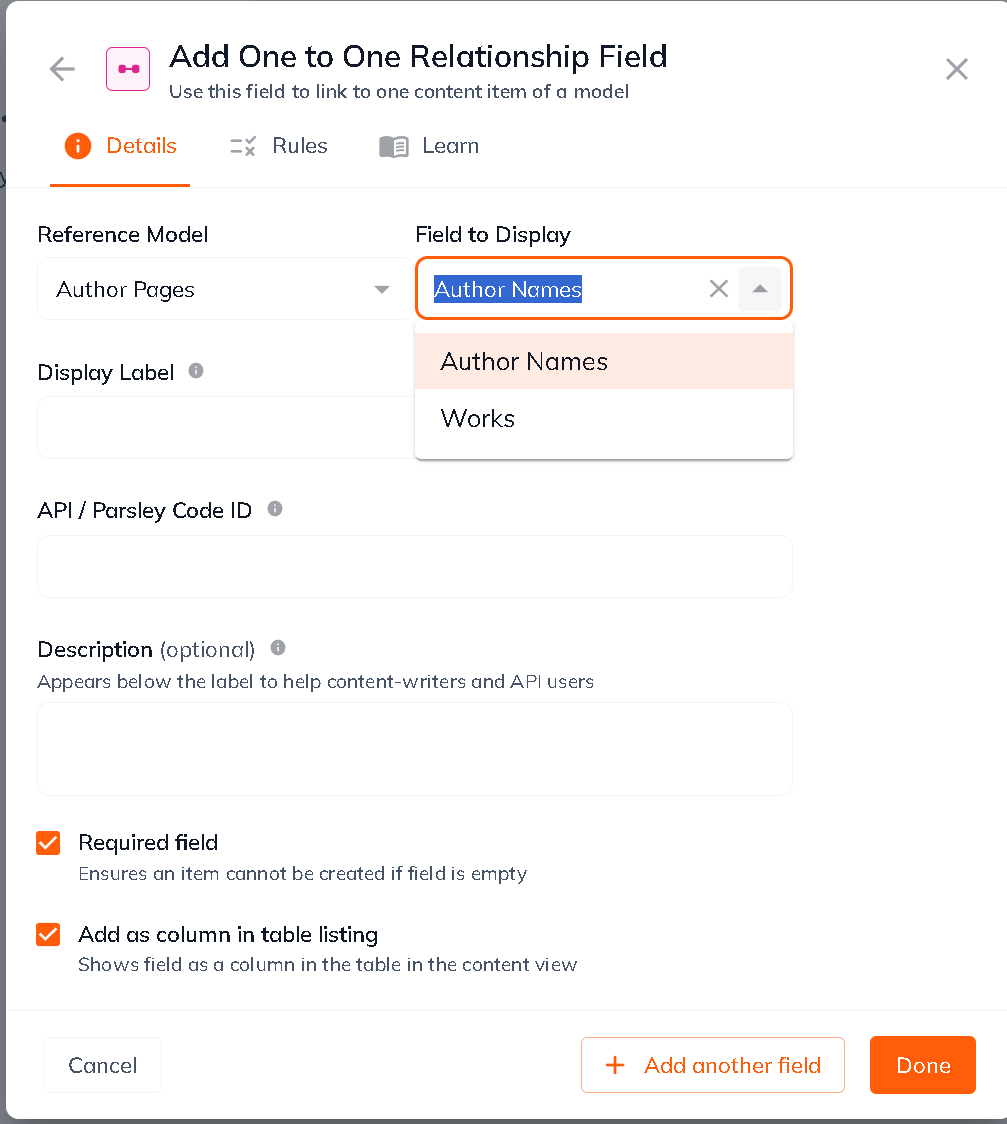
This has to match the name of the data set/template set/page set. Once the name is the same, this will dynamically set the dropdown field with the name of authors.
relationship_field:
This is what the field will be called inside of the content page.
required:
This makes the field required to be submitted.
list:
This adds the field to the table-view.
In Manager App
In the config tab, here is what the above code creates:
Now if we were to create an author:
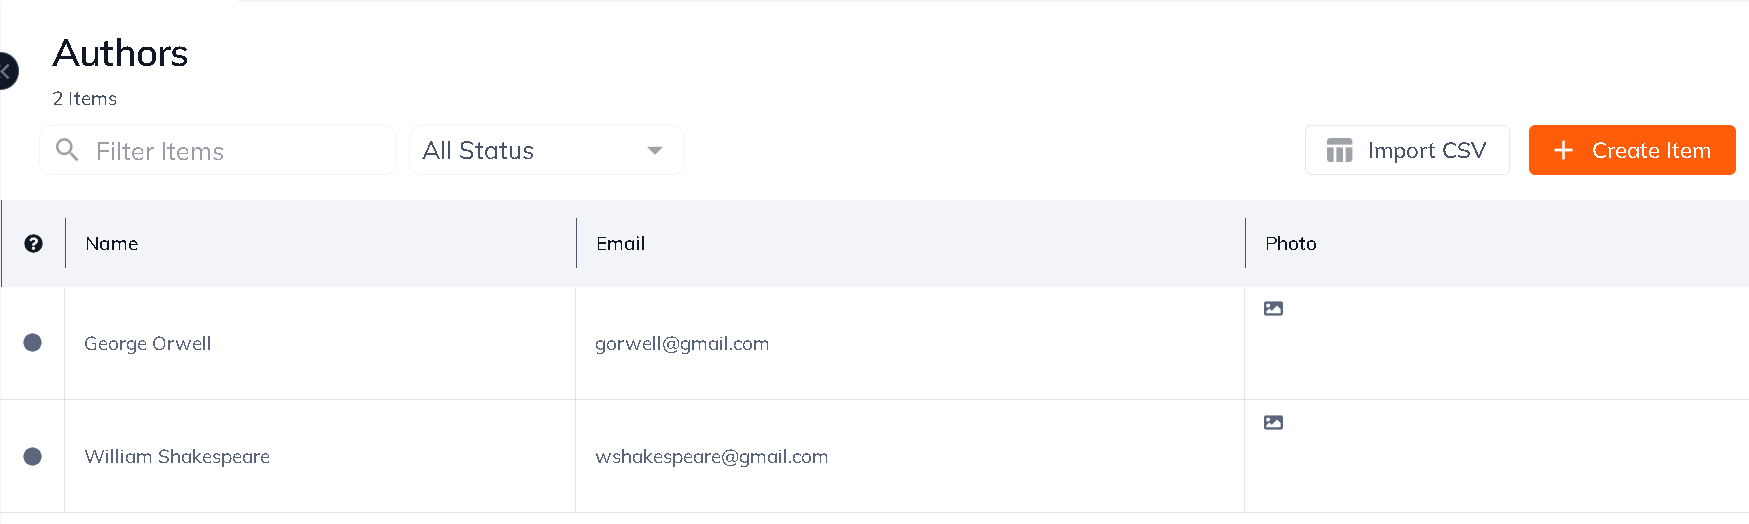
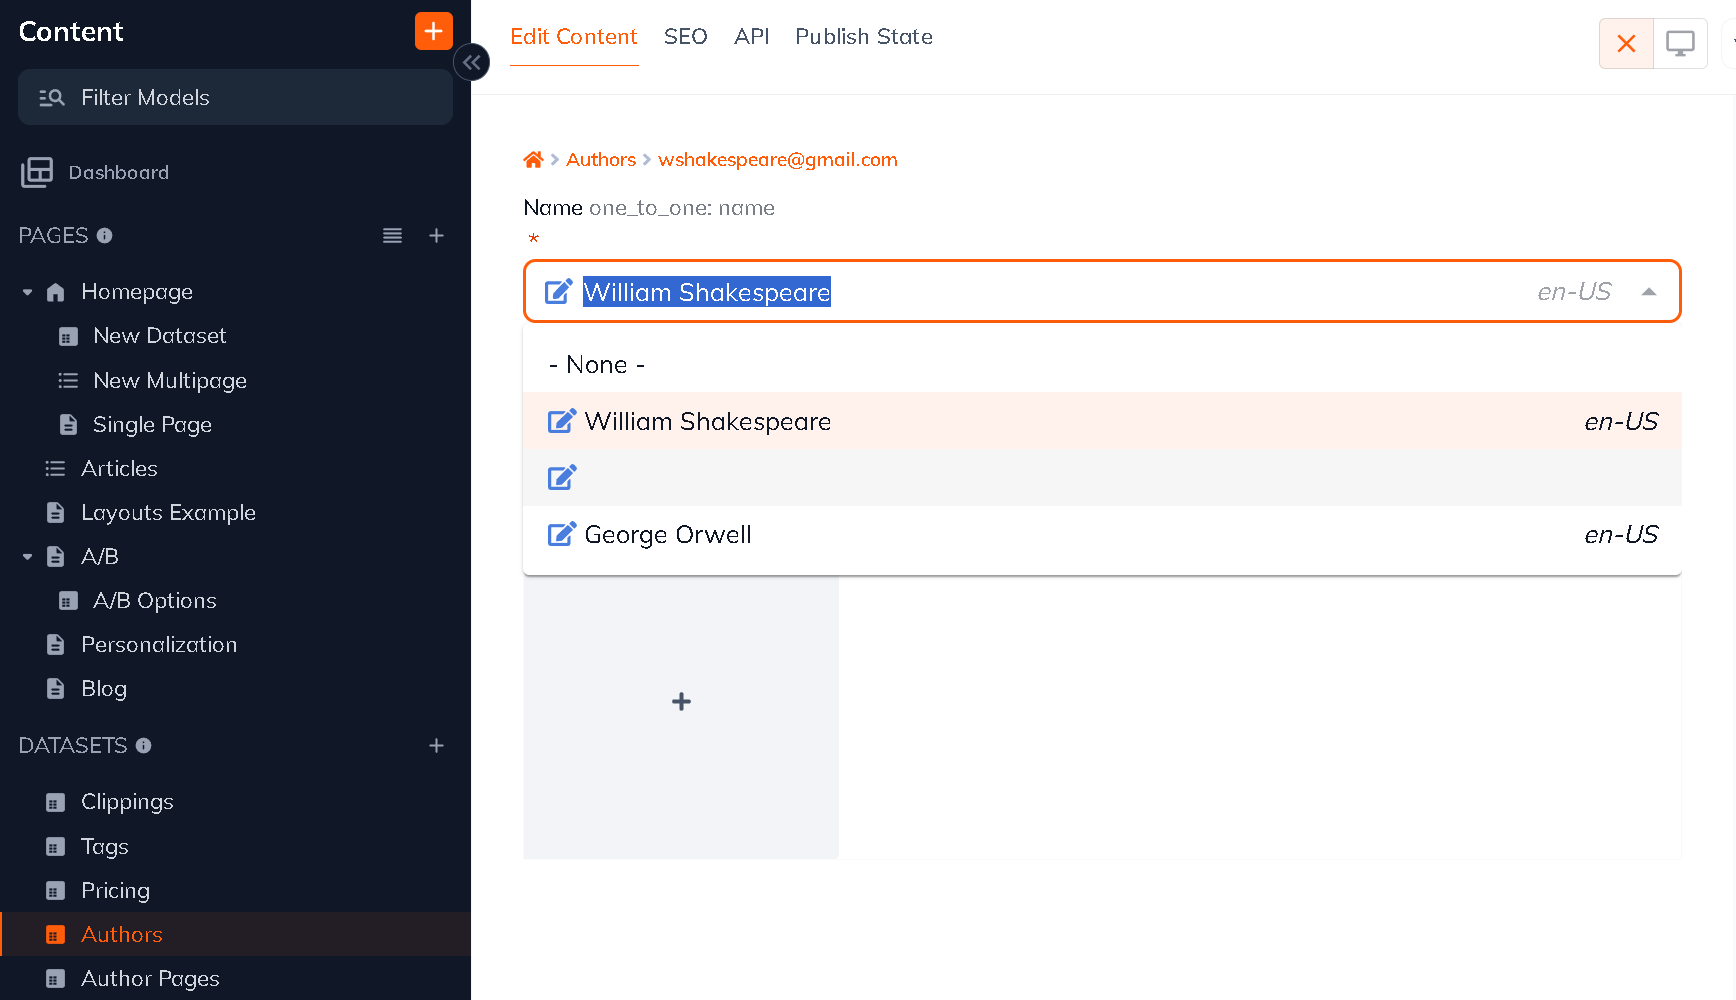
Each article will have a dropdown populated by the various authors you have saved in your dataset. Each article will have a required field of selecting one author, which is the core of the one-to-one relationship. Now whenever a new author is created, it will automatically be available in the article dropdown when selecting an author.
Updated 1 day ago