Content Manager Settings
Within the Settings tab of the Content Manager you are presented with several options that directly affect the Instance in its entirety. Including the ability to add global Head Tags.
Accessing Content Settings
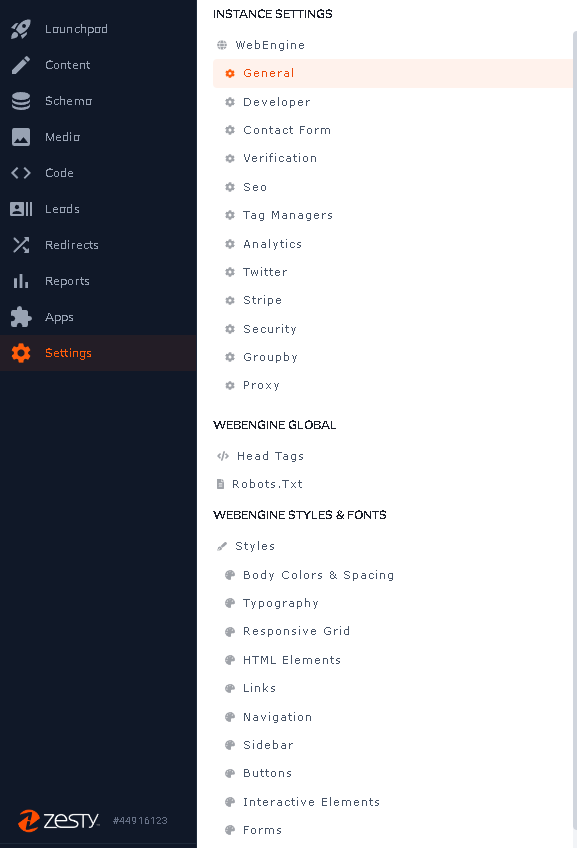
The Settings tab shown below gives access to customize your instance. There are several tools available to you, highlighted below are the sections within settings as well as a guide to adding global head tags from the WebEngine Global Settings.

Instance Settings
Instance Settings are developer-oriented settings to customize an instance's backend functionality. Generally, the most commonly edited configurations are Google Analytics, contact form options, and HTTPS settings. For an in-depth look at each of these, see Settings.
Below is a view from the General Settings within the content Instance Settings.

WebEngine Global
While you can add head tags to individual content models, there are times that global head tags will be more appropriate. This can be done in the WebEngine Global settings, along with customizing the instance's Robots.txt file.
Selecting Head Tags, directs you to the management of the current global head tags of the instance and creation of new tags. Zesty complies and attaches tags for the CSS, SCSS, and JavaScript files included in the Code section automatically. Any additional head or meta tags can be added here.
Adding global head tags
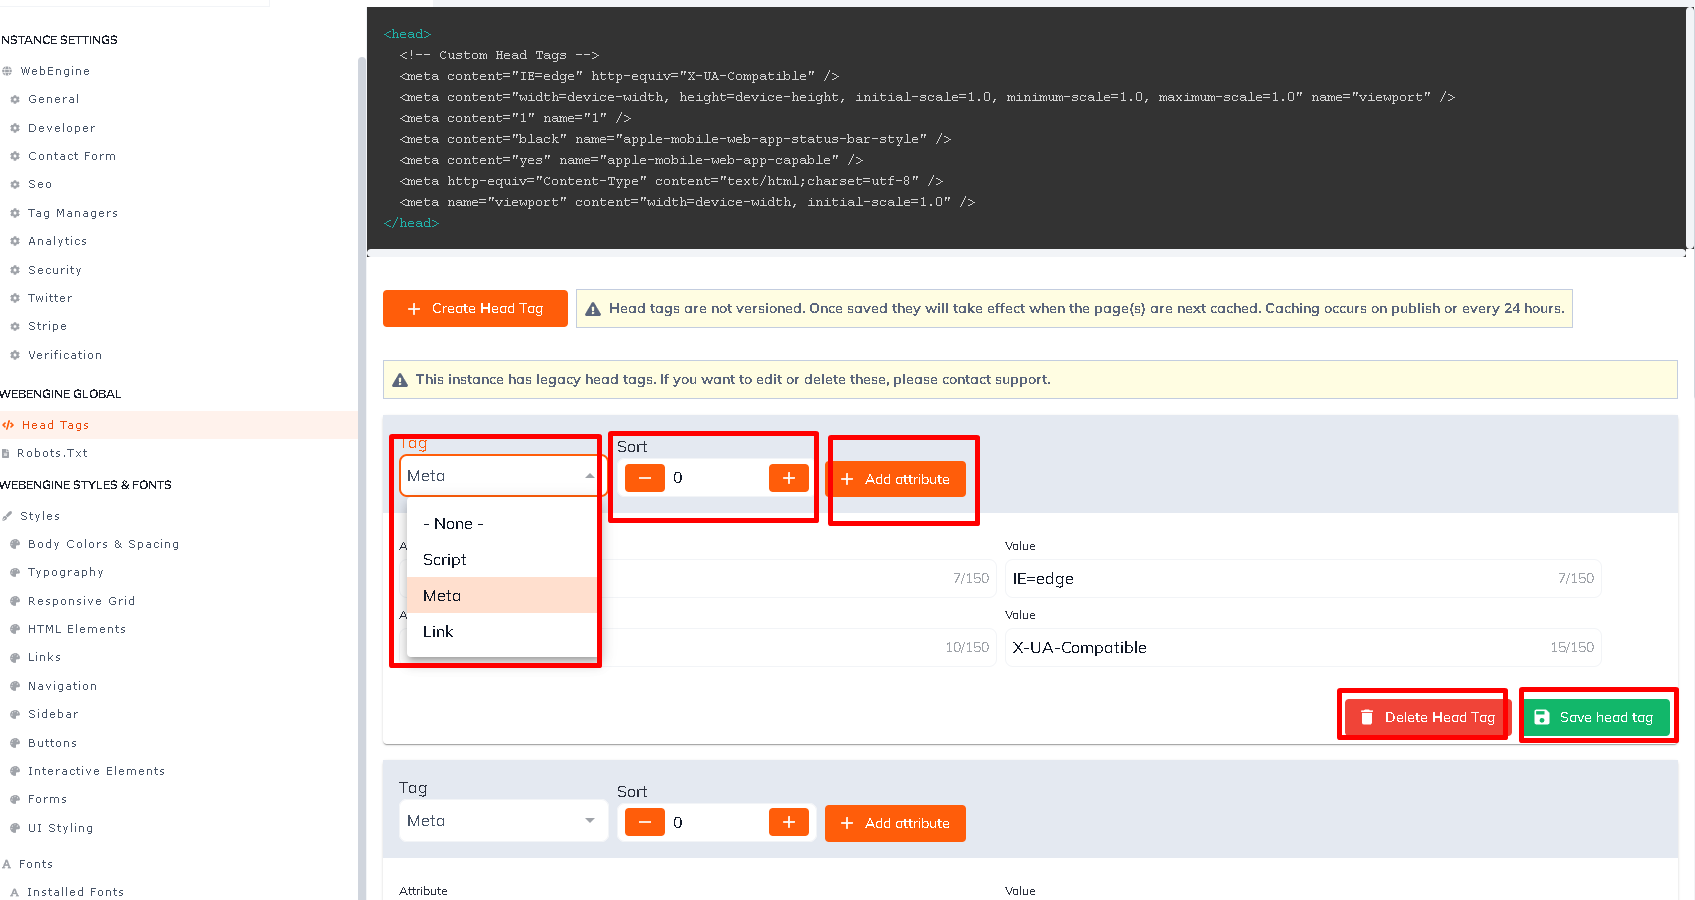
Inside Head Tags, select + Create Head Tag button to create an addition. The template accommodates tag type selection, landing order in the head using sort, addition & deletion of attributes, saving and deleting the tag itself.
As you are creating tags, Zesty provides a dynamic rendering of how the head will appear on the published instance. The prepopulated meta tags can also be reordered and deleted.

WebEngine Styles & Fonts
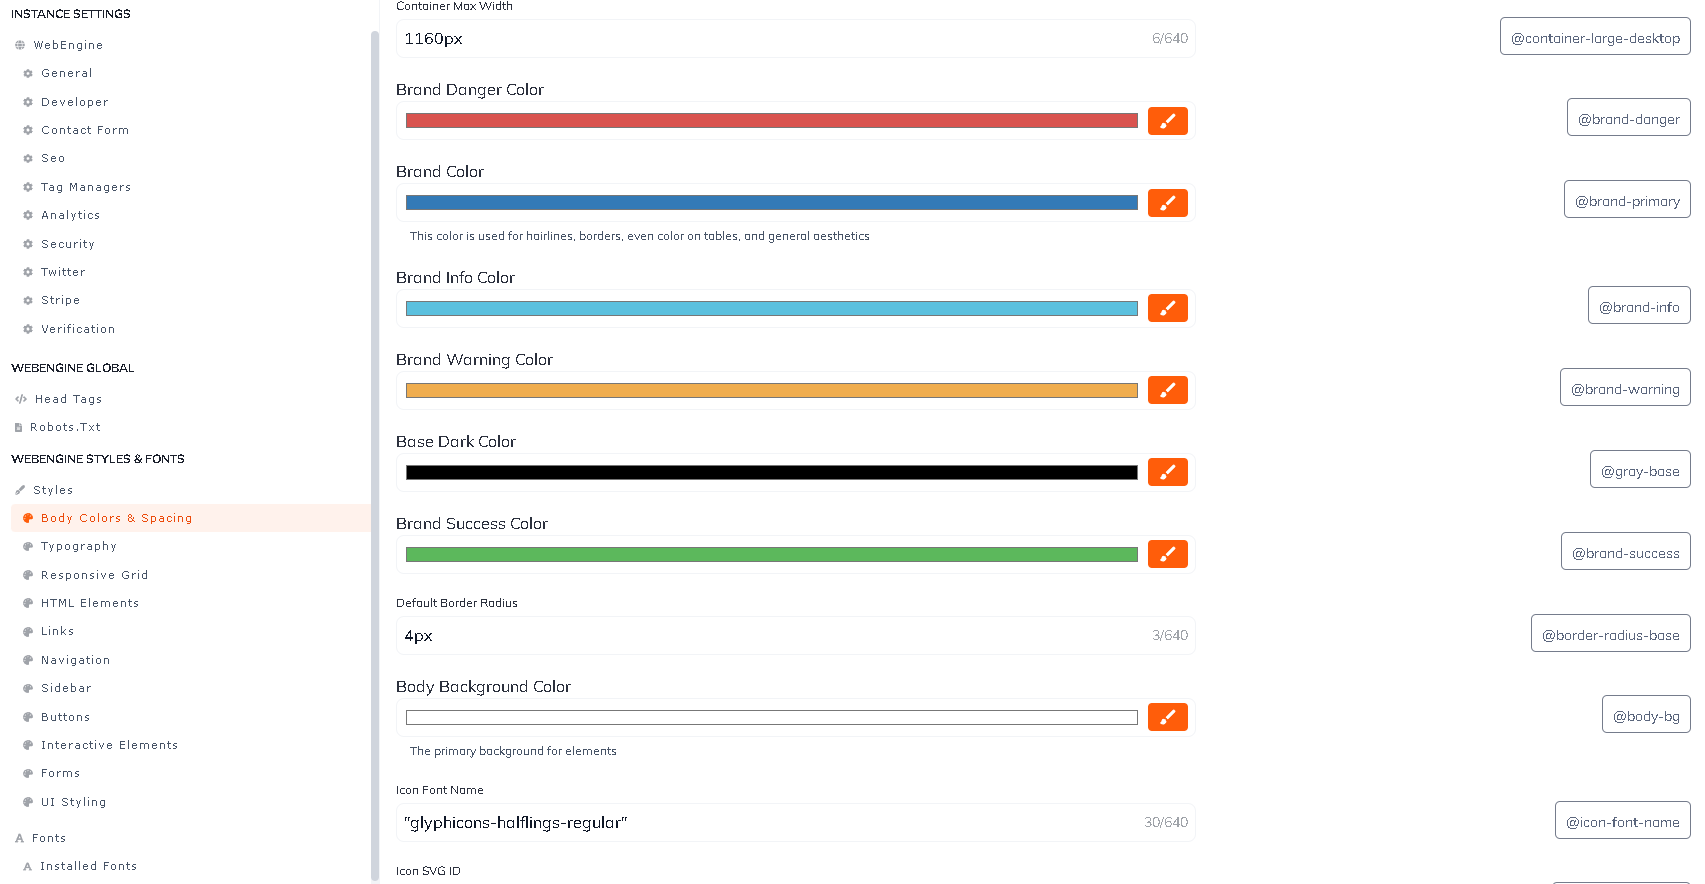
Global styling settings can be created and updated from here. If you have selected a prebuilt blueprint, this is where you can adjust color schemes and and fonts that have been pre-determined by the blueprint. When working with a blank slate blueprint you can create your own styling themes and utilizes the variable names provided to reference them in your styling sheets. For an deep dive into styling settings, see Instance Styles.

Next Steps
Now that you have created you content and customized your settings, let's take that content and begin adding it to your code. In the next section, we'll cover Parsley, loader and ATOM.
Updated almost 2 years ago
