
Using Snippets
Snippets are a file type in the Web IDE that allow for small pieces of code to be abstracted out from the views.
The code in Views can get pretty crowded with code depending on what you're working on. Snippets can make all that code more modular and easy to manage by allowing user to abstract complicated and repeated pieces of code into a separate file. When you want to include your abstracted code into a view, use the Parsley {{ include }} call.
Common Use Cases
There are several common use cases that Snippets are commonly used for:
- Headers
- Footers
- Sidebars
- Navigation bar(s)
While these are common use cases, more complex pieces of code can be abstracted as well. For example, it may be easier to work on a large form when it's abstracted into its own Snippet, or a complex in-View script may be easier to work when it's not surrounded by a View's HTML.
The Loader, which comes with every single Zesty.io instance, is a Snippet. This file allows for views to be rendered using the
{{ current_view }}call.
Creating Snippets
For this guide we're going to be making a simple header for our website. We are starting at the last step of the Schema-Content-Code process: coding it all in. If you need a refresher on how Zesty.io works refer to these articles: create an instance, build the Schema, and add Content before jumping into the Web IDE to code it all in.
Refer to below steps in creating snippets.
1. Navigate to the Code section of the Manager UI.
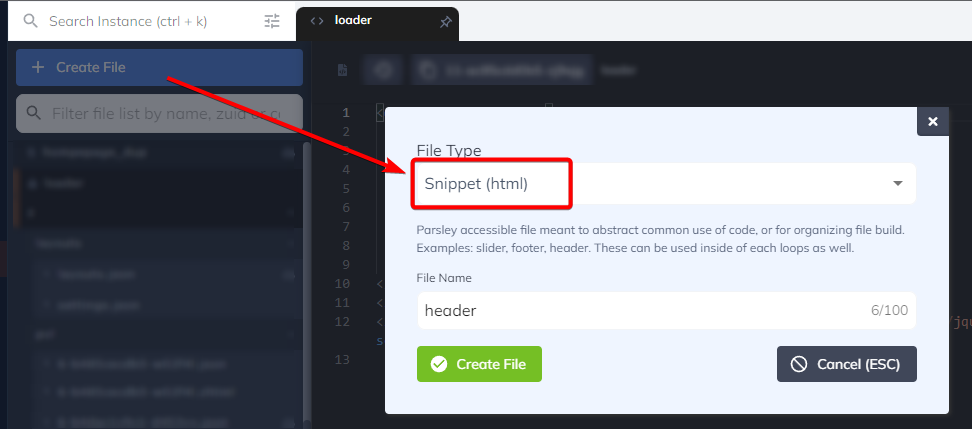
2. Click the Create File button. Select the Snippet (html) as the file type from the dropdown. Add a file name (eg. header). There is no need to add an extension to the file name.
3. Click Create File to create your new snippet file.
Using Snippets
When working on your Snippet you'll need to include it in a view in order to preview your changes. Since we're working on a header that we want to be on every single page, we're going to add our Snippet to the Loader which loads every view.
After creating your Snippet:
1. Code your Snippet as necessary. Snippet is an HTML file so you need to code in HTML tag format. Here we created a header snippet as an example.
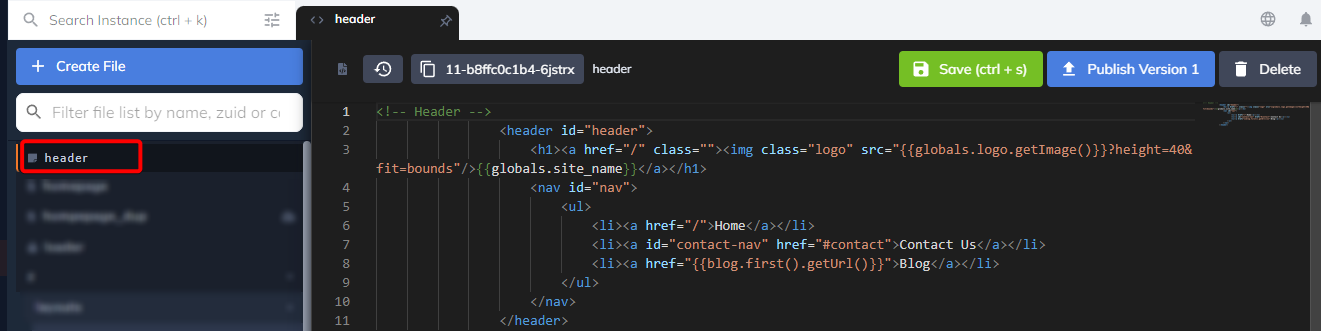
2. When updating, make sure to hit Save to save your changes. To view your updates in live page/environment, hit Publish.
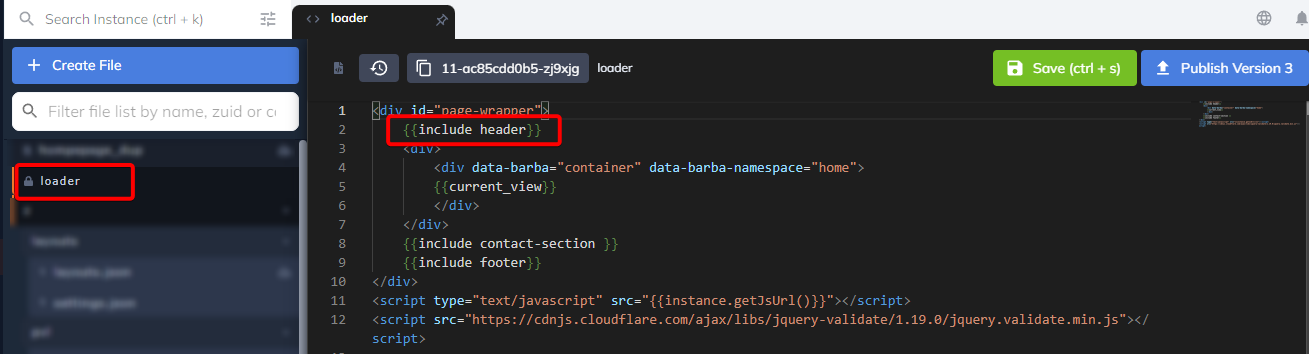
3. Finally, use the Parsley {{ include }} syntax to include your snippet in a view file.
In this example, we include the header snippet in the loader view so it will be loaded in every page content.
To send snippets live both the snippet and the view that the snippet is included in need to be published.
Updated 1 day ago