Manually integrating a Next.js project to Zesty content
Leverage Zesty's headless capabilities with your existing Next.js project.
Create new Next.js app
skip this step if you already have a react or next.js project
QUICKSTART
npx create-next-app@latest <app-name> --use-npm --example "https://github.com/vercel/next-learn/tree/master/basics/learn-starter"
Change to the newly created directory
cd <my-app-name>
Open your preferred code editor at the root of this directory. And start your server by running the following script.
npm run dev
You can now navigate to your served project by going to http://localhost:3000/ on your browser
Open up your project in your preferred IDE and open pages/index.js
Change Welcome to Hello World, Save and confirm the changes in your browser.
Create config file
At the root directory, create a new file called zesty.config.json and add the following object
{
"instance_zuid": "<instance-zuid>",
"stage": "<stage-url>",
"production": "<production-url>",
"options": {
"skip_config_overwrite": true,
"model_ignore_list": [
"6-xyz"
]
},
"runinstaller" : false
}
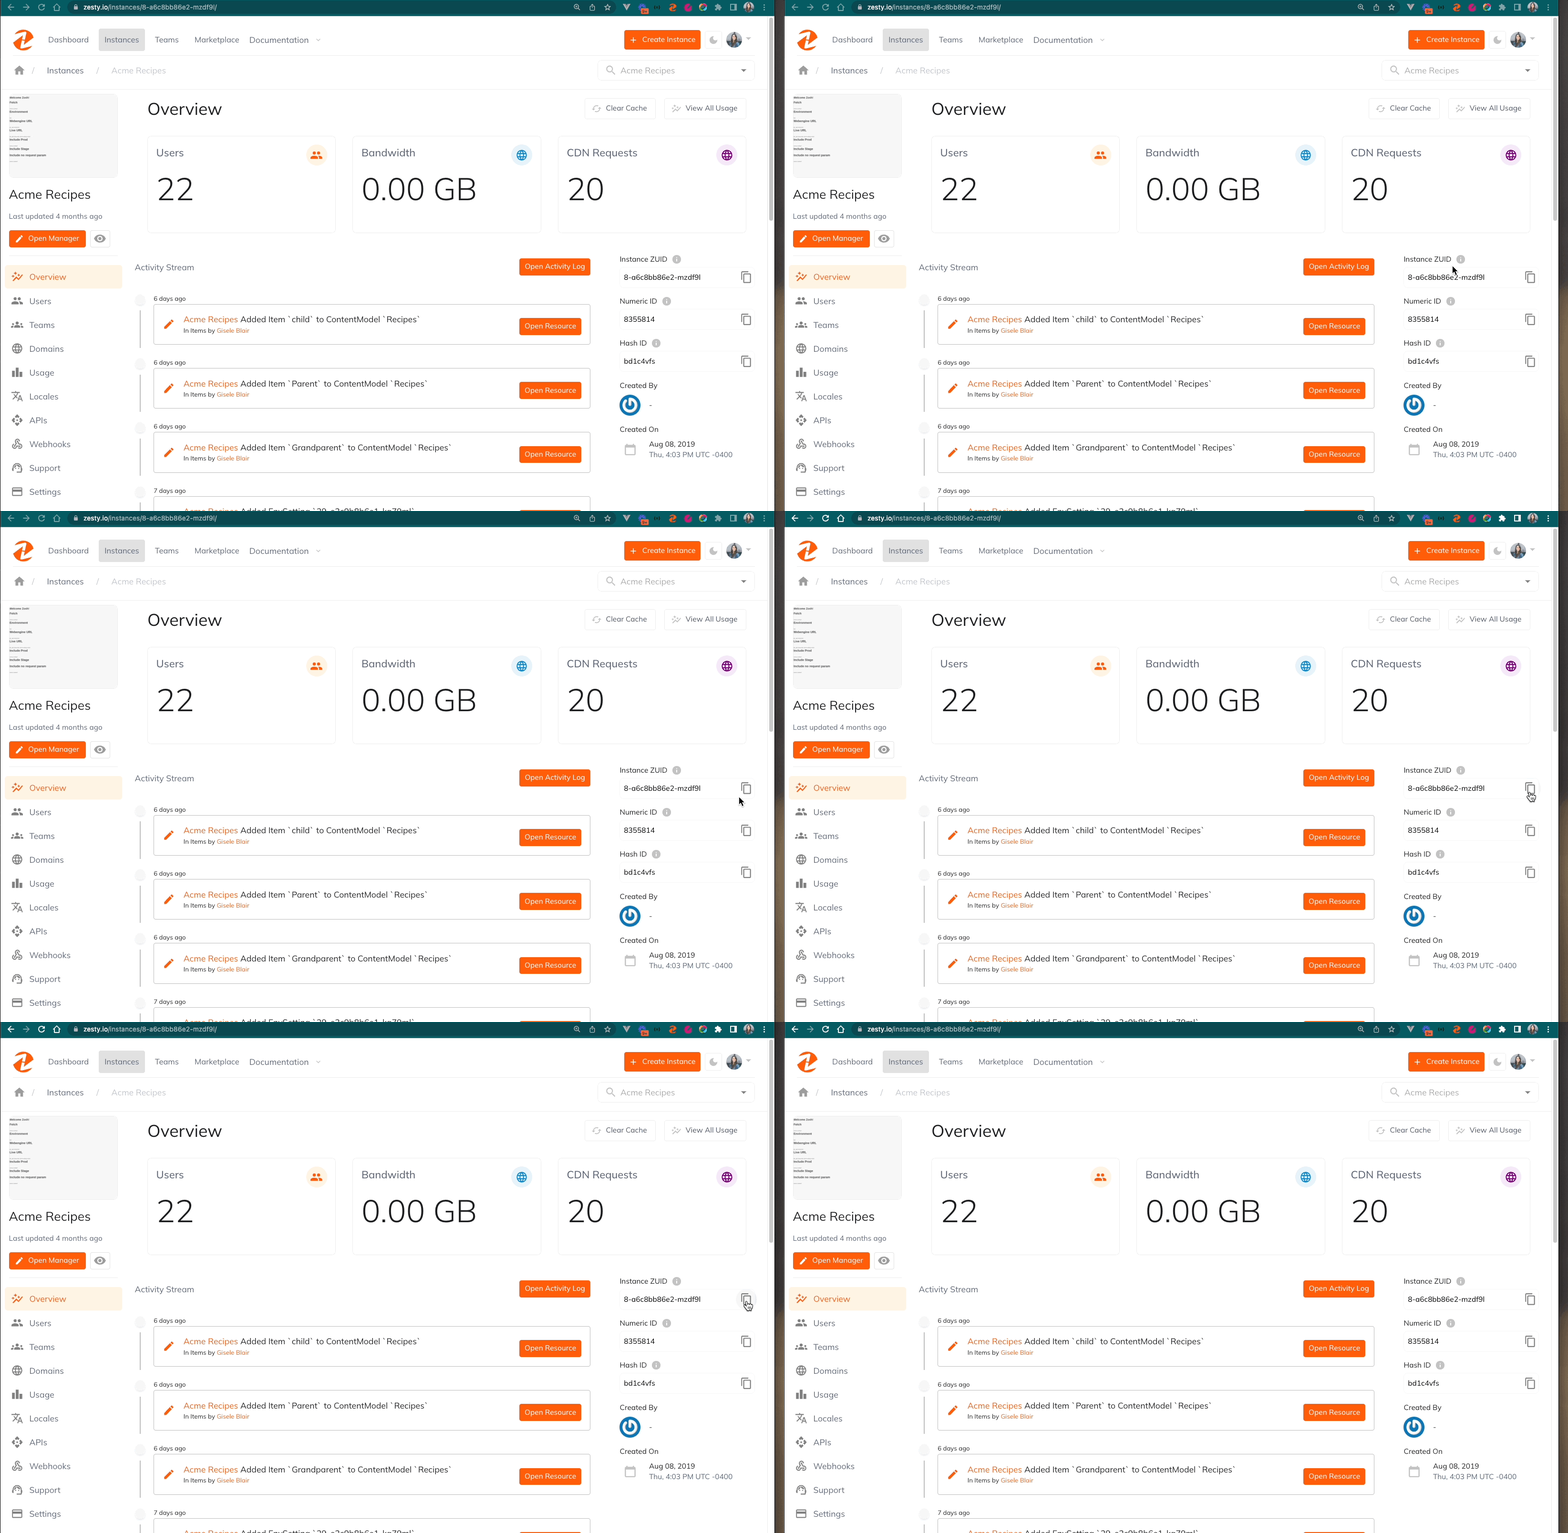
Get the following values by logging into Zesty and navigating to your instance at www.zesty.io/instances/
Open your instance settings by clicking on the cog setting icon
Copy the instance ZUID, and paste it as the value for instance_zuid

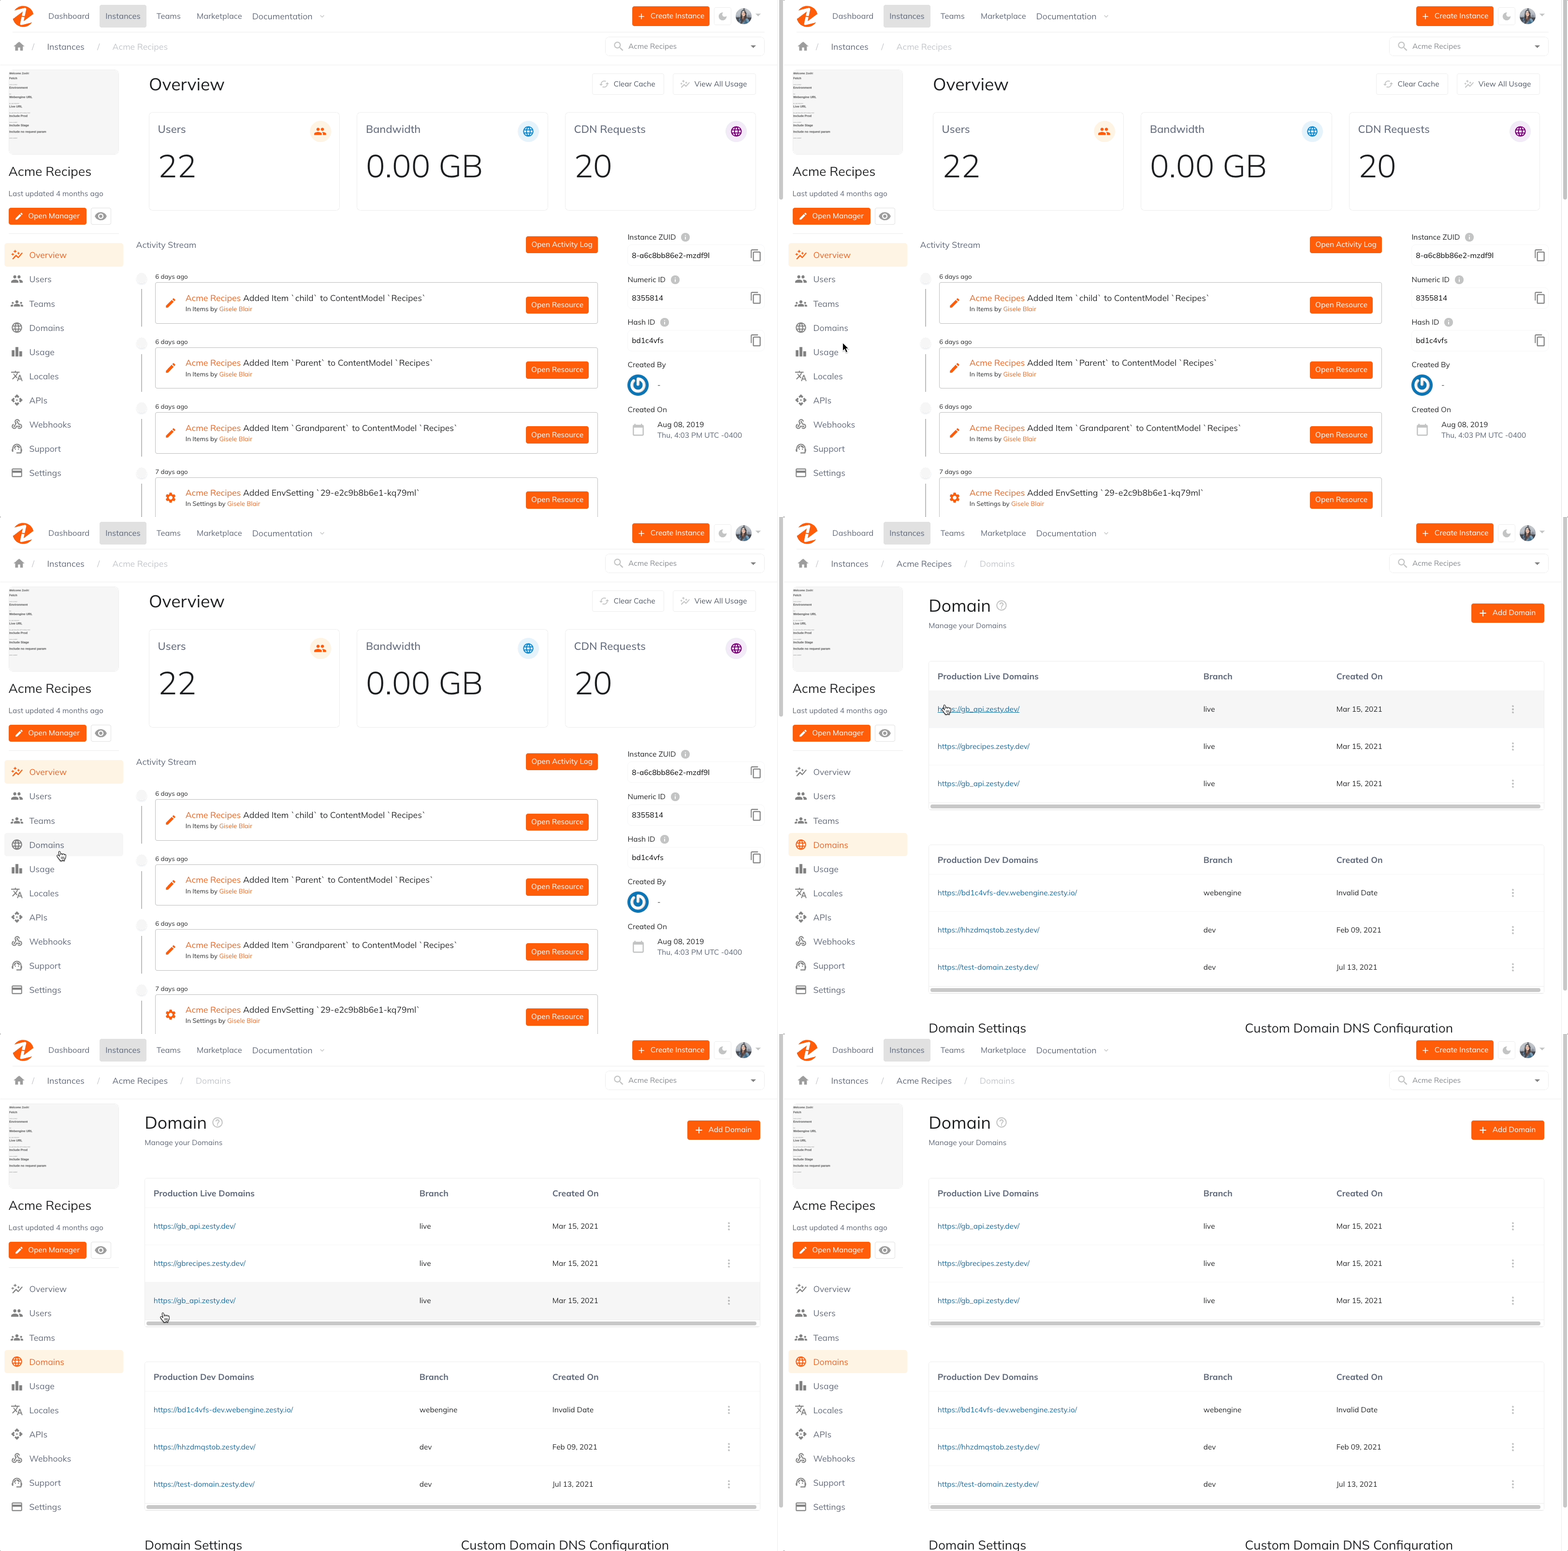
Open your instance domains.
Copy the stage domain and paste it as the value for stage
Copy the production domain and paste it as the value for production

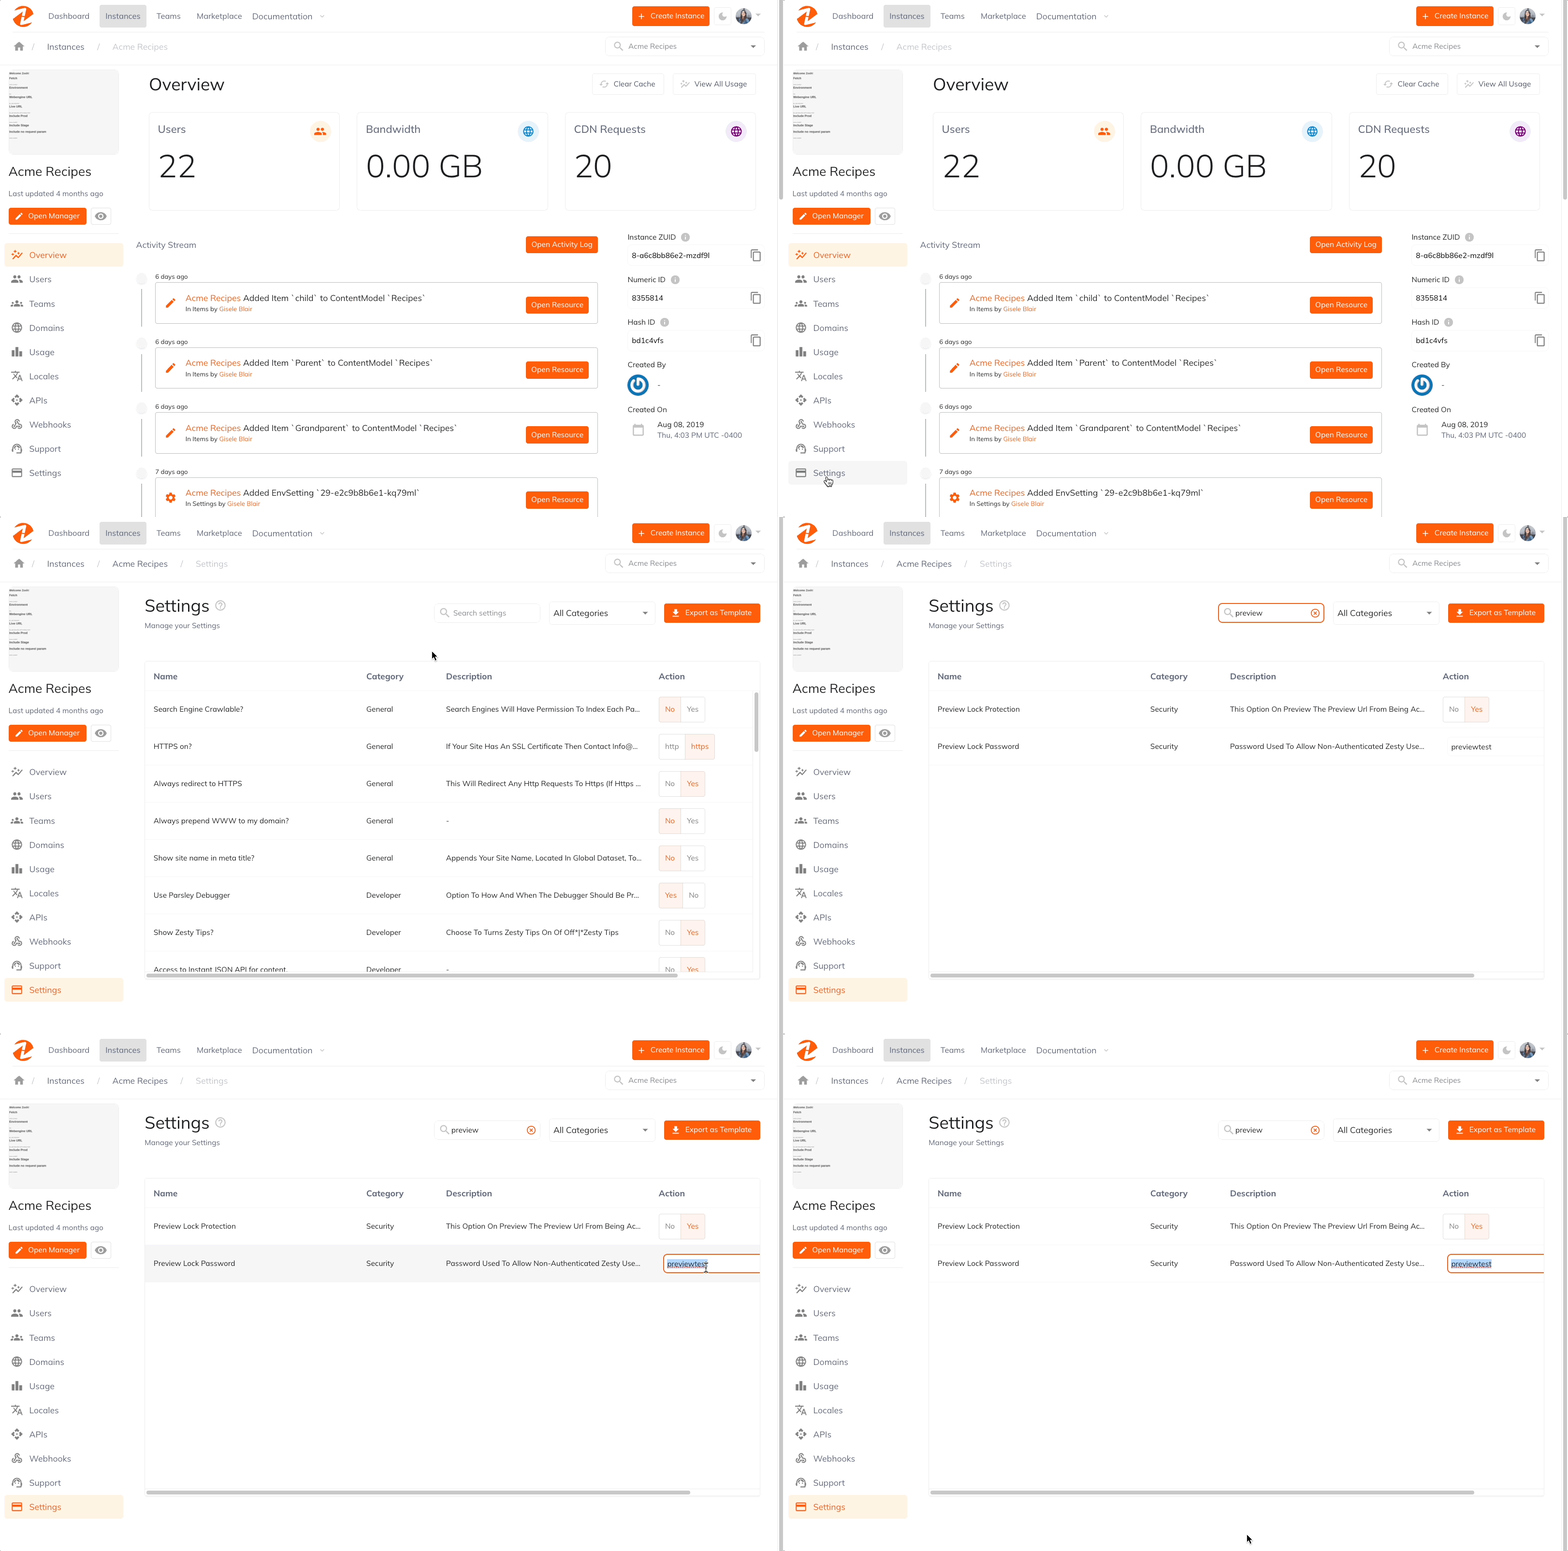
Now, go to your instance settings and copy the Preview Password. If one doesn’t exist, please create one. This value should be saved in your project’s .env file

Installing packages
From your terminal, run the following script to install
npm install @zesty-io/webengine-json
Now navigate to pages/index.js and add the following snippet at the top of the file
import { toJSON } from '@zesty-io/webengine-json';
Accessing your zesty config, in either react app or nextjs add this line of code in the file which you need access to the config values.
import ZestyConfig from "/zesty.config.json";
Test if this works by adding {ZestyConfig.stage} to your JSX return body next to 'Hello World'
Restart your server by running
npm run dev
Connecting to Zesty content
Using webengine-json to fetch content object
In Next.js you have two options to load data into the page, getStaticProps and getServerSideProps, we give an example for both. The Zesty preference is server side rendering for the dynamic runtime, but if your app requires static site generation, static props can be setup with hard paths or custom code using Zesty's /-/headless/routing.json dynamically with getStaticPaths
Read more here: Data Fetching: getStaticPaths | Next.js
Open the file pages/index.js
Here is an example snippet that uses the webengine-json package to get the layout object from a content item using its url path
import Head from 'next/head';
import styles from '../styles/Home.module.css';
// zesty packages
import { toJSON } from '@zesty-io/webengine-json';
import { AutoLayout } from "@zesty-io/react-autolayout";
// zesty config, this can also be configured to auto load, see
https://github.com/zesty-io/nextjs-v13-starter
import ZestyConfig from "/zesty.config.json";
// Static site Zesty.io content example
// export const getStaticProps = async () => {
// const content = await toJSON(ZestyConfig.stage,'about/')
// return { props: { content } }
// }
// Serverside Rendering Zesty.io content example
export const getServerSideProps = async (context) => {
console.log('the url can be used to auto fill the path',context.resolvedUrl)
const content = await toJSON(ZestyConfig.stage,'about/')
return { props: { content } }
}
export default function Home({router, content}) {
return (
<div className={styles.container}>
<Head>
<title>Create Next App</title>
<link rel="icon" href="/favicon.ico" />
</Head>
<main>
<h1 className={styles.title}>
Hello World <a href="
https://nextjs.org
">Next.js!</a>
</h1>
{/** Example simple content access */}
{content?.title && <h2>{content.title}</h2>}
<h3>Example zesty.config.json access {ZestyConfig.production}</h3>
{/** layouts example (optional) */}
{content?.meta?.layout?.json && <AutoLayout content={content} />}
</main>
<style jsx global>{`
html,
body {
padding: 0;
margin: 0;
font-family: -apple-system, BlinkMacSystemFont, Segoe UI, Roboto,
Oxygen, Ubuntu, Cantarell, Fira Sans, Droid Sans, Helvetica Neue,
sans-serif;
}
* {
box-sizing: border-box;
}
`}</style>
</div>
)
}
Note that the following method from the webengine-json package is what is extracting the item object
toJSON(domain,url,stage_password))
Your instance’s stage_password is a secret, and should be referenced from a .env file
Example
Next.js:
https://github.com/zesty-io/nextjs-custom-integration
Updated about 2 years ago
